An ultimate all-in-one music manager to download music, transfer music between iPhone/iPad/iPod and iTunes/Mac, and clean up music collection.
 Get Started
  Discover Music
  Download Music
  Record Music
  Transfer Music
  Manage iTunes Library
  More Tools in Toolbox
  More Tips for iMusic
 DRM is short for Digital Rights Management. It is used to protect the paid songs you have downloaded from iTunes Library. DRM protected songs can only played on iPhone, iPod, and iPad. They can’t be played on other devices. You can change the situation by replacing DRM protected songs with non-DRM songs.
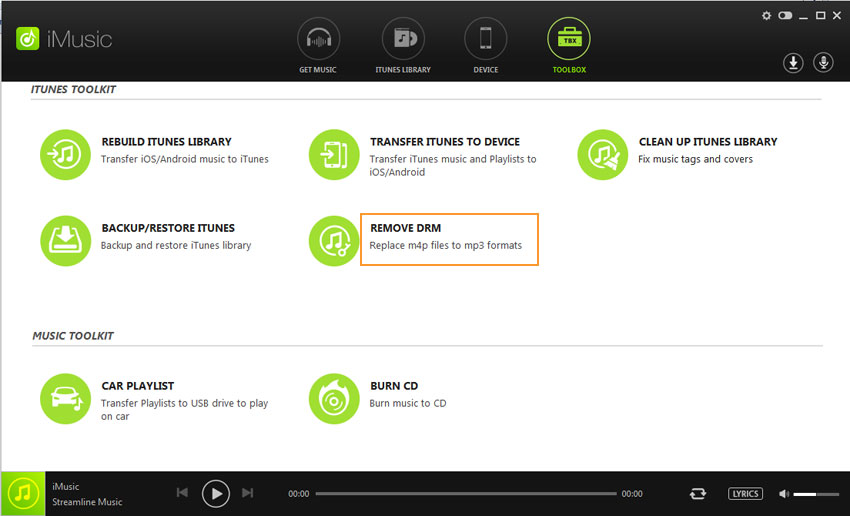
Step 1. Install iMusic on your computer. Launch it. Next, click “TOOLBOX” menu on the top of the software. From the new windows, click “REMOVE DRM”.
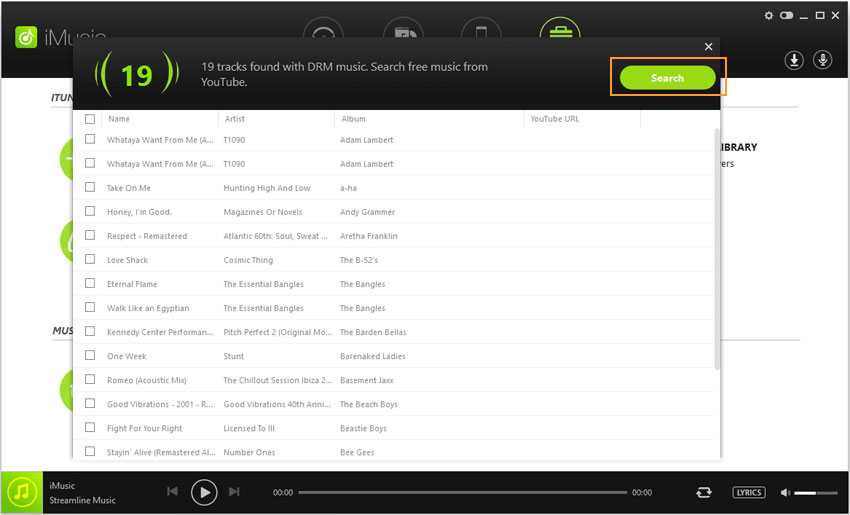
Step 2. Songs in your iTunes Library with DRM protection will be displayed in a new window. From there, check them all or selected ones and click “Search”. By doing this, the same songs on YouTube will be found.
Step 3. Click “Download” on the top right of the window to download the DRM protect songs replacements from YouTube.
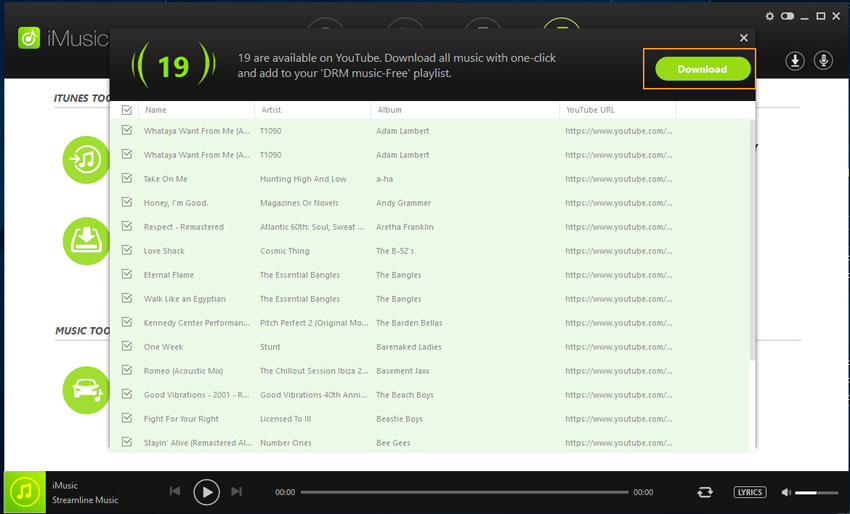
A new dialogue will ask you to confirm the download. Click “Download” to go ahead.

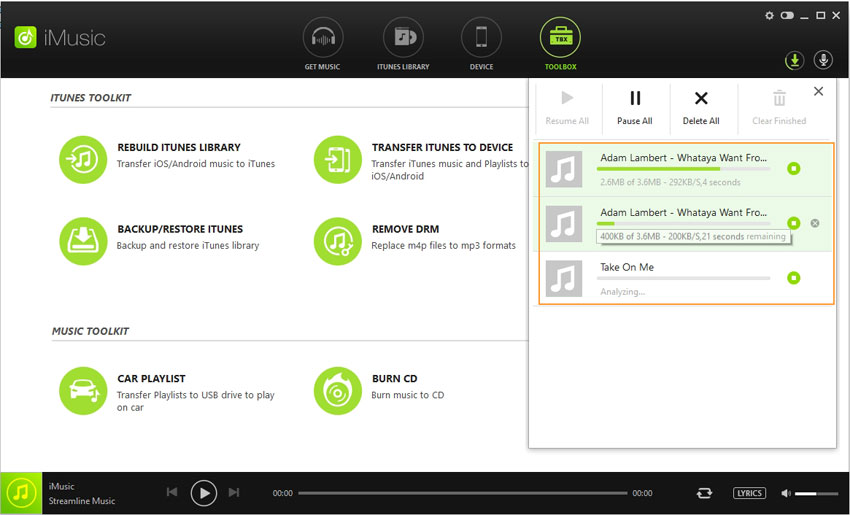
After then, you can see the download progress on the right side.
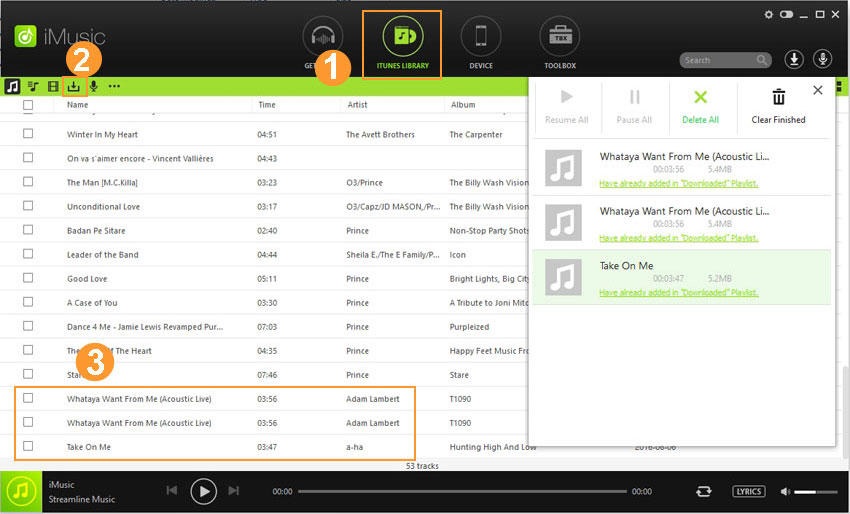
Step 4. After the download, you can click “ITUNES LIBRARY” menu, then the download icon in the same window to check out the DRM-free songs. And a playlist named as “DRM Music - Free” is created in iTunes Library.