If you are an avid user of Windows Media Player and using iPhone, then you probably think it is impossible for you to transfer music from your system to the device. However, with a simple tweak, it is possible to move the music in simple steps.
Best Software to Transfer Music from Windows Media Player to iPhone – iMusic
As stated above, a simple tweak with the help of software will allow you to transfer music from Windows Media Player to iPhone. The recommended software to perform the action is iMusic. The software rose to immense prominence within a short period due to the features embedded in it and the flexibility it offers as a manager. Overall, iMusic is a single solution through which a user can not only transfer music from Windows Media Player to iPhone but also to other devices. The software also allows for discovering and downloading favorite music from the Internet in MP3 or MP4 format. The following is a concise introduction to the important features of the program.

- Discover - utilize the music library in-built within the program to search, listen, and download favorite music. They can carry out the search using artist name, song name, playlist, or by genre.
- Download - download all their favorite music from over 3000+ websites in a single click. It means you have the opportunity to download a video directly from a video site and convert the same to MP3.
- Record - download a live streaming audio into MP3 with 100% quality or other output formats. Automatically fills in the details of the song in the background.
- Fix - fix a music library where several songs have broken links, missing album art, details, and other information.
- Transfer - helps in moving audio files from a computer to iPod/Android devices, or between Android and iPhone devices.
Step-by-step guide for how to use iMusic to transfer music from Windows Media Player
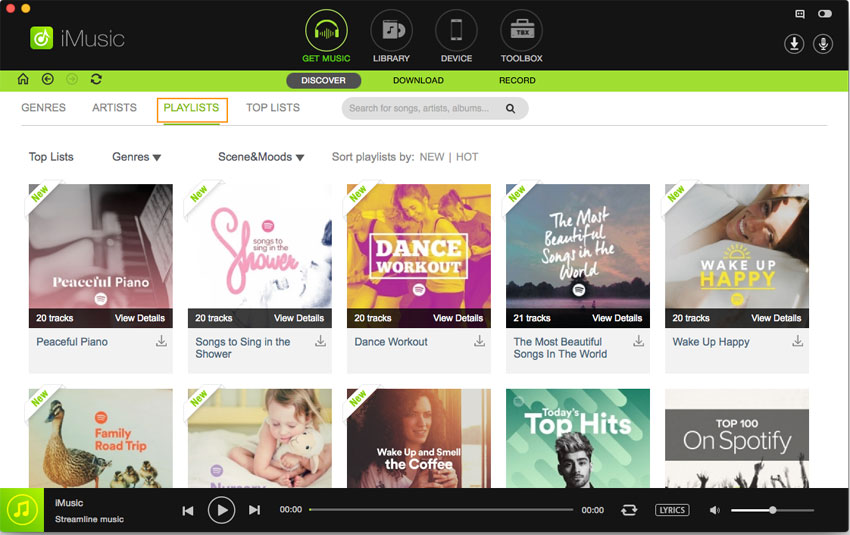
Step 1: iMusic is offering as a trial version. Download it for your operating system and complete the installation procedure. The product window will open up displaying the several features provided by it, which is clear and straightforward.
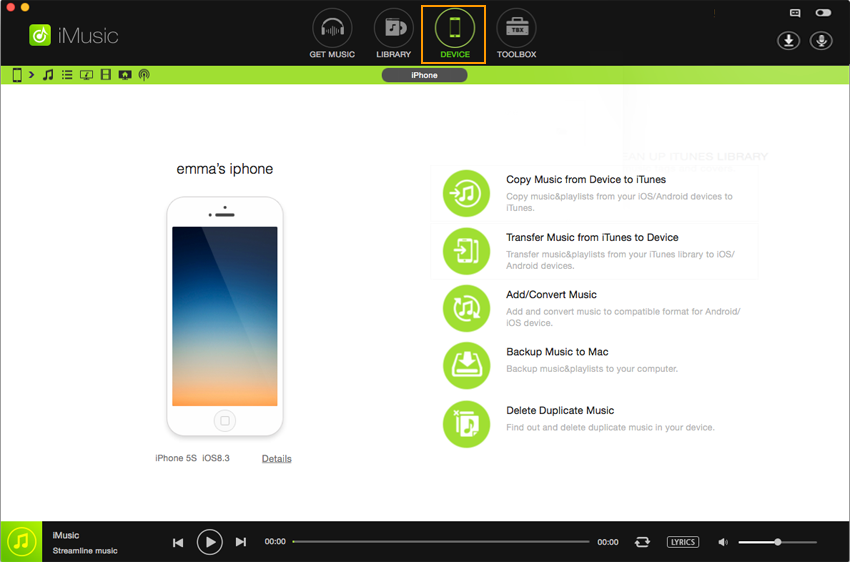
Step 2: Now, it is important that you understand that iPhone requires a different file extension of the songs to play. Although it is easy for you to add songs to iTunes library from the local disk of PC, if they are not iTunes friendly, you will fail to add them to the library. But do not worry, as iMusic makes it easy for you to convert the songs automatically and add them to the library. From the product window, click the “Device” feature from the menu bar. Connect your iPhone to the computer. You will be capable of seeing the following screen. If you are unable to see the device, it is important that you click “Trust” on the iPhone when you see “Trust This Computer” message.

Step 3: By granting the access, you will enter the music management window. Click the music icon symbol located to the left side of the menu bar to display the songs in the device connected to the computer. In the same row, to the right side, click the “Plus” icon to begin adding songs to the device. Pressing the Add button will ask you to choose a file or folder.
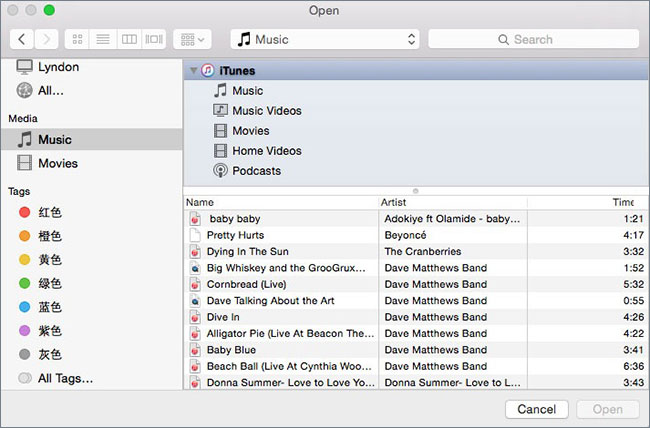
Step 4: You can now select a file or folder on your computer, as iSkysoft will open up the Windows File Explorer feature that will help you navigate to the music folder or the drive containing the songs that you wish to add to your iPhone. You can continue the process by making the necessary selection of the songs and press “Open” to begin transferring them to the device.
Note: Ensure that you do have an idea about the location of songs contained within the Windows Media Player playlist. If you do not, you can easily check it out under the options tab of the media player. You can then navigate to the folder directly from the pop-up message displayed by iMusic.
Conclusion
Given the ease of management and the possibility to add songs from Windows Media Player playlist to iPhone, iMusic is a perfect solution for all music lovers. As you have read and understood the features and advantages provided by the program, it is time for you to try it out by downloading the trial version and experiencing the plethora of options offered by iMusic, which gives you a complete control over your music management lifestyle.


Any Product-related questions? Tweet us @iMusic_Studio to Get Support Directly