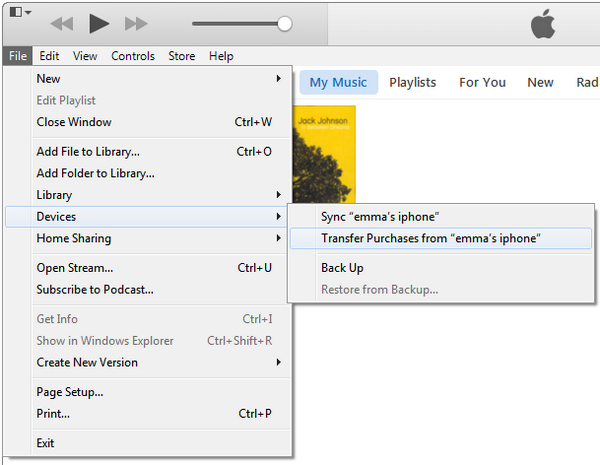
There are plenty of situations where you might want to transfer songs you’ve purchased through iTunes to another Apple ID. For example, if your oldest child is about to head off to university, they may want songs they’ve purchased to be transferred to their own account. However, it’s not quite as simple as you might think, as Apple do not allow content to be transferred from one account to another. It’s not a feature that they currently offer, though it’s something many Apple fans are hopeful for in the future.
While Apple are deciding whether or not to implement this feature, there is a fix you can do as a workaround, which will allow multiple users to listen to music from one account. While it’s not as simple as transferring data straight from one account to another, it does provide a satisfactory fix for the time being.

How to transfer iTunes purchases to another account
Step 1: The first thing you’ll need to do is move your music to a public location, so other users can access it.
Select your iTunes Media folder (located in /Music/iTunes on a Mac or \Users\(username)\My Music\iTunes on Windows). Make sure you only select the iTunes Media Folder, and not the iTunes folder or the iTunes library.xml file. Those need to stay where they are.
Step 2: Drag the iTunes Media folder into a public location or shared folder, which will allow other users to access it.
Step 3: Open iTunes and select ‘Edit’, then ‘Preferences’. Next, click ‘Advanced’, ‘Change’ and select the new location of your iTunes Media folder in the ‘Change Music Folder Location’ option. click ‘OK’ and you’re all done. Your music is now ready to be shared with other accounts.
Now, so the other users can listen to your music, they’ll need to do the following:
Step 1: Open iTunes and select ‘Preferences and then ‘Advanced’.
Step 2: They’ll need to make sure the ‘Copy files to iTunes Media folder when adding to library file’ option is not selected.
Step 3: Next, select ‘File’ and then ‘Add to Library’. Now they’ll need to go into the shared file where the music is now saved, select the tracks they want to listen to and click ‘Open’.
The songs will now become available in their iTunes. Repeat the above for every user who wants to either share their purchased music or listen to the shared music.
How to transfer iTunes purchases to a new computer
Luckily, transferring iTunes purchases to a new computer is much simpler than trying to share purchased items between accounts.
Step 1: Download your files after you’ve purchased them from the iTunes Store and make sure your authorization the new computer to be used with your iTunes Store account. Remember, you can authorization up to five devices that can use your purchased items.
Step 2: After you’ve downloaded the files for your purchased items and authorized the new computer, you can copy the files to the new device using any of the following methods, whichever’s easiest for you:
1) An external hard drive
Simply copy the purchased files from your old computer to your external hard drive, then plug the hard drive into the new computer and copy the files from it. Then load into your iTunes account as you always would.
2) Home Sharing
Anybody using iTunes 9 (or later) can easily transfer iTunes content between authorized computers, using the Home Sharing feature.
3) Burn the files to a CD
This method only works if you only have a few files to transfer, but you can burn your purchased songs to a CD, insert the CD into the new computer and copy them off that way.
4) File sharing
If you turn on file sharing you’ll be able to copy your files from your old computer to your new computer over your network. This can be tricky, though, so head over to the Apple website for more information about how to set this up.
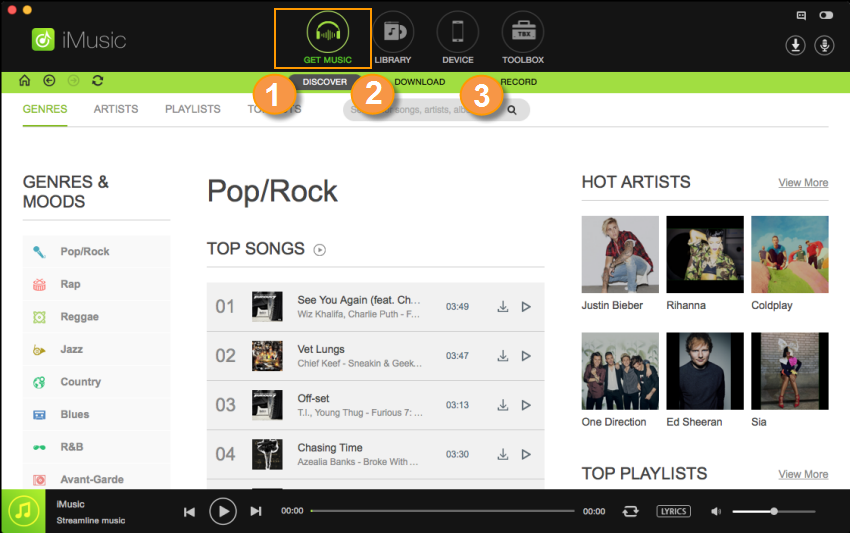
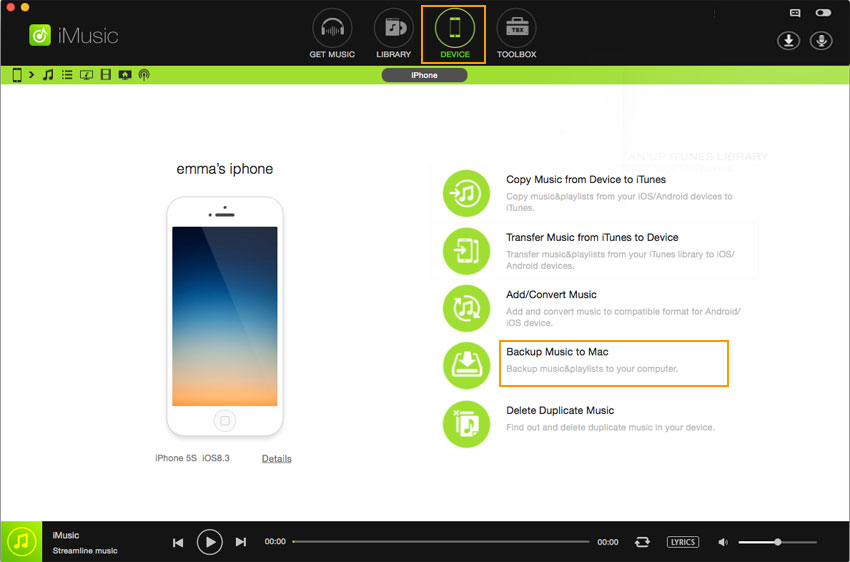
So, today we’ve covered the basics about where to find your Tunes files, how to transfer purchases from one computer to another and how to convert your files using iMusic. Hopefully iTunes is a bit less of a mystery now, and you can enjoy your music worry-free!
Convert WMV to AVI on Mac and PC in 1 Click!
Quickly convert your WMV video files to AVI formats in both Mac OS and Windows.
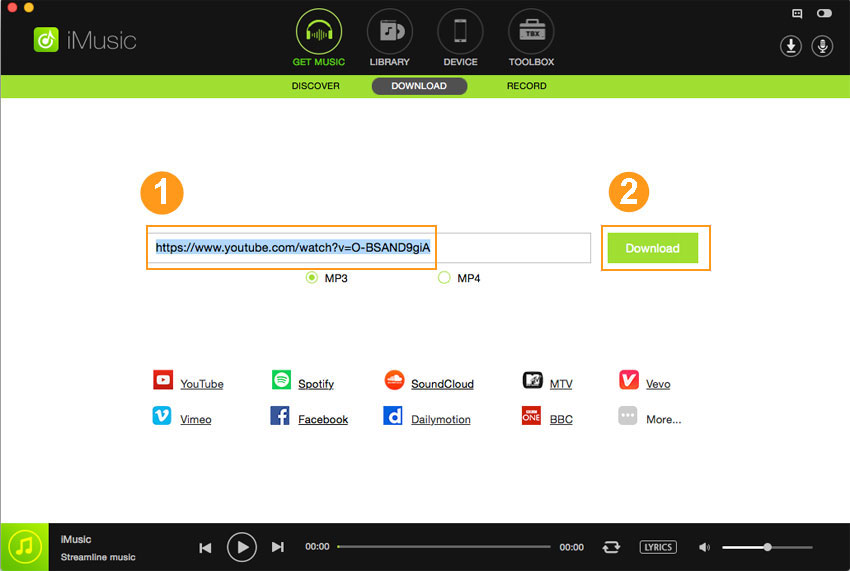
- Download music from more than 300 music sites, including YouTube, by copying and pasting the URL.
- Record unlimited music from any website or any audio or video playing in your computer with just one click.
- Built-in music library let you browse and preview the lattest and hottest music from popular music sites.
- Automatically save downloaded/recorded music to library for management and easy transfer.
- Identify and tag music with artist, title, album, genre, and more with the latest ID3 tag technology.


Any Product-related questions? Tweet us @iMusic_Studio to Get Support Directly