iPhone users cannot transfer any data or music from computer to iPhone without the help of the iTunes, the call history on iPhone will only save some calls and one cannot send the photos or songs to the friends over the Bluetooth. If you are irritated by the issues explained above and are or want to switch from iPhone to Android, here's the complete guide on how you can do this with the ease. Natively, you cannot simply transfer the music, videos, photos, contacts or anything from your iPhone to the Android. Similarly, you cannot transfer the music from your iPhone to the computer because Apple has a restriction in the iPhone which will prevent its users from sending the videos or music from iPhone to Android. Don't worry, check out the solutions below:
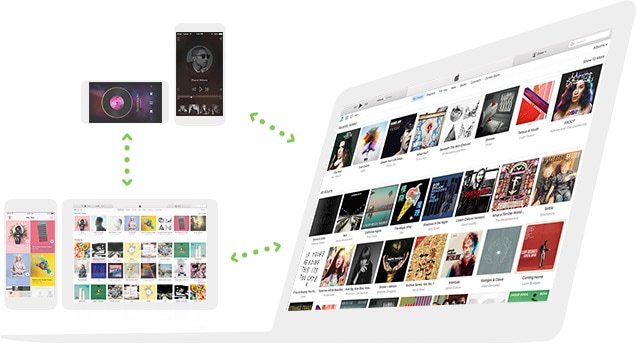
iMusic allows people to transfer music from Android to iPhone. The software package is a one-stop solution for all your music needs. It is capable of searching for your favorite songs, artists, albums, playlists or genres, and allows you to download to your device. Aside from this, you can further use it to transfer music between Android phones and Apple devices, and from Mac or PC to iDevices and Android devices. The following are the features that make it unique and a stable application for your music requirements.
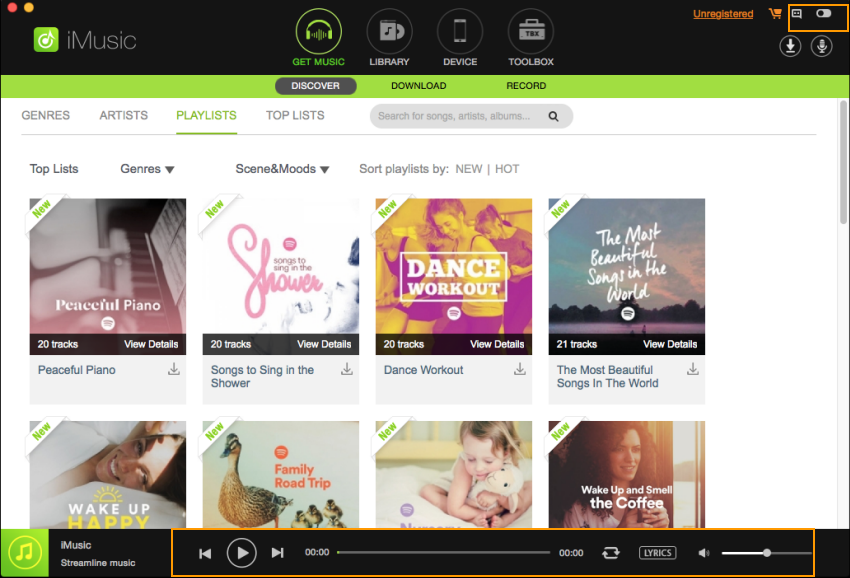
iMusic allows people to transfer music from Android to iPhone. The software package is a one-stop solution for all your music needs. It is capable of searching for your favorite songs, artists, albums, playlists or genres, and allows you to download to your device. Aside from this, you can further use it to transfer music between Android phones and Apple devices, and from Mac or PC to iDevices and Android devices. The following are the features that make it unique and a stable application for your music requirements.
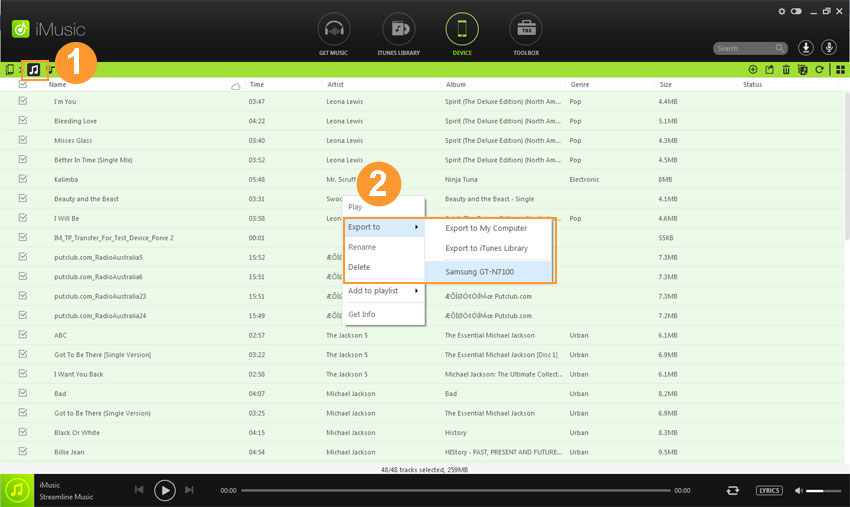
Note: iMusic for Windows allows users to transfer music from iPhone to Android phone directly while iMusic for Mac can’t do it right now. If you’re a Mac version, you need to use iMusic for Mac to export music from iPhone to your Mac, next, click the Add button to add these songs from your Mac to the Android phone. The guide below works on iMusic for Windows.
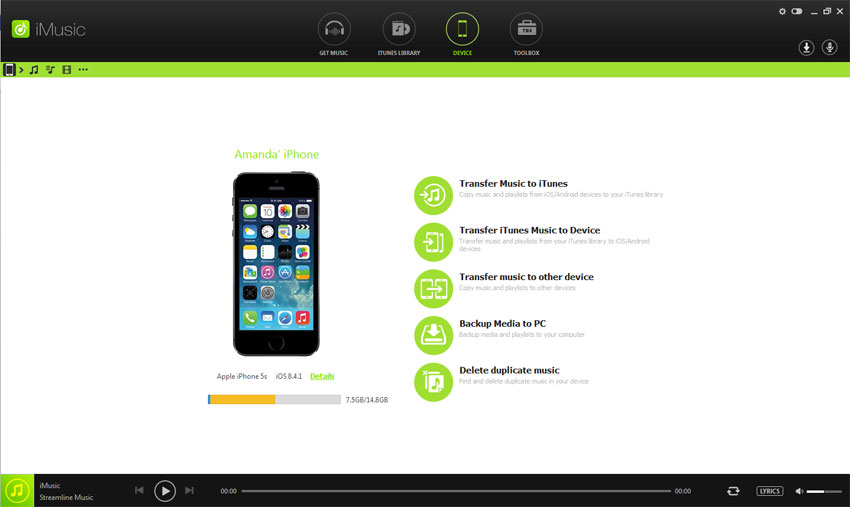
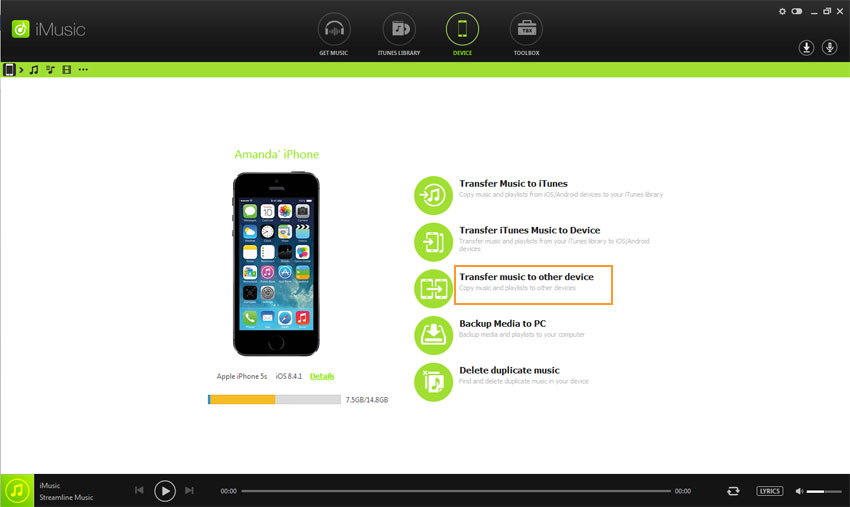
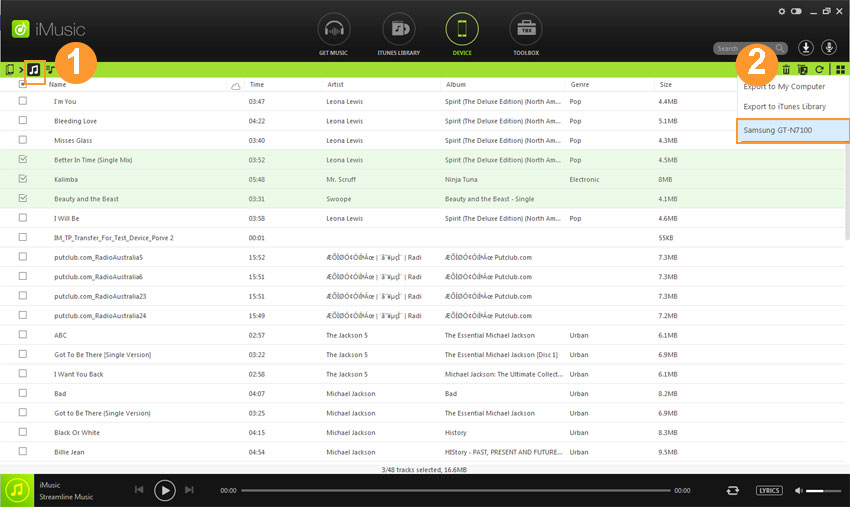
Step by step guide to transfer music and videos from iPhone to Android using iMusic:
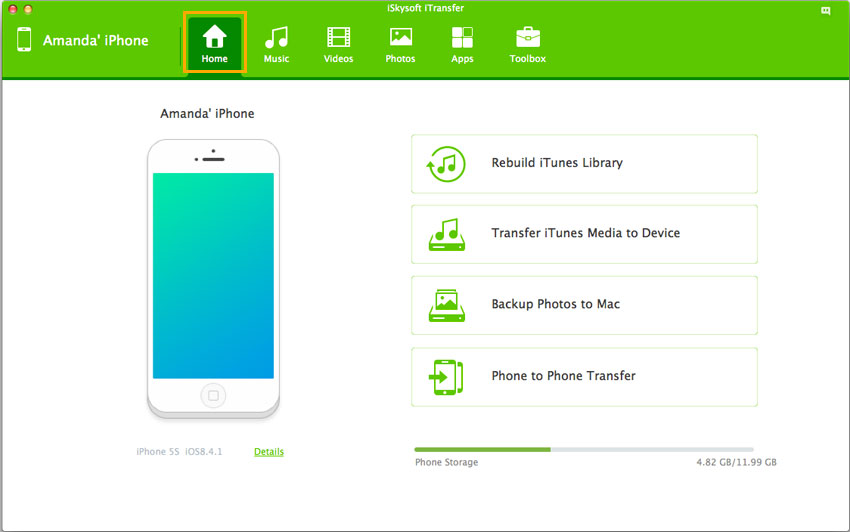
We at iSkysoft also provide an easy yet perfect solution to copy all the photos from your iPhone to the Android device. iSkysoft iTransfer is a software which will let you transfer all the photos with one click. The best part about using this software is that you can easily copy all the photos from your iPhone to a specific folder or the iTunes library. Once the photos are on your computer, they can easily be sent to your Android phone. Here’s the step by step guide on how you can transfer the photos from iPhone to Android using iSkysoft iTransfer.
Step by Step guide to transfer Photos from iPhone to Android using iSkysoft iTransfer

Part 3. Transfer Contacts from iPhone to Android
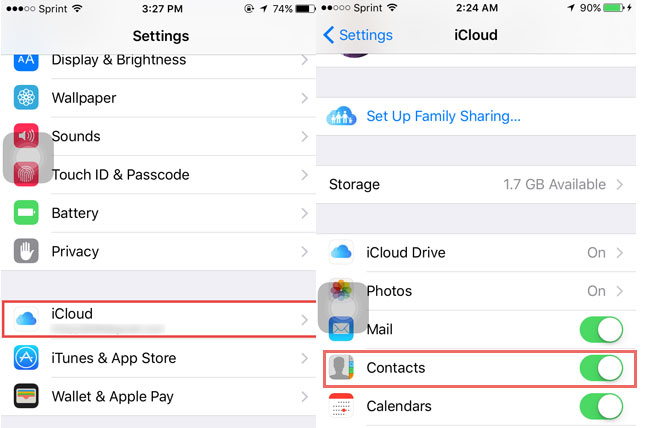
Transferring the contacts from your iPhone to Android is rather easy as compared to transferring the photos, videos or music. You can simply use iCloud to back up your contacts and can download them on your Android device. You can either use the Email to transfer the contacts or file manager to copy the contacts. Here’s the step by step guide to transfer the contacts from your iPhone to the Android.
Step 1. Go to settings on your iPhone, scroll down and click on iCloud. Login to your iCloud using your Apple ID and password. Scroll down and make sure that you have enabled the contacts. Wait for a few minutes till the iCloud has finished backing up your contacts.
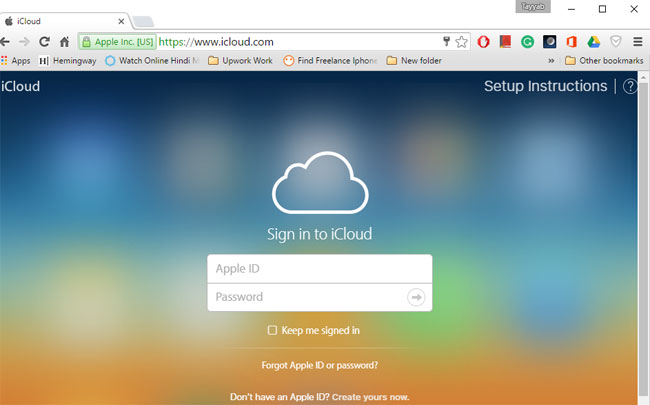
Step 2. Now, Open web browser on your computer and go to www.iCloud.com. Login with the Apple ID and password and press enter. start transferring the music from iTunes library to the iPhone device.
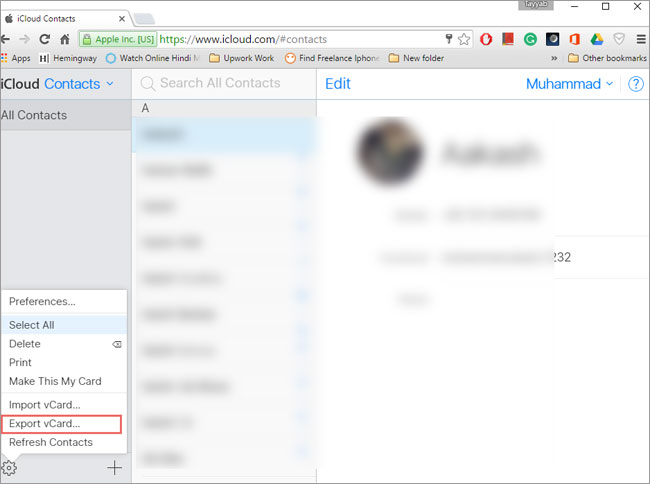
Step 3. Now, click on the contacts and it will show all the contacts on your iCloud account. Click on the settings icon as shown in the screenshot below and select all contacts that you want to transfer to your Android. Click on the Settings icon again and select Export Contacts. It will save the contacts in VCF format.
Step 4. Finally, you can copy or Email this VCF file to your Android device where you can open the file to copy all the contacts to your Android device.


Any Product-related questions? Tweet us @iMusic_Studio to Get Support Directly