Music is soothing to ears and refreshes the mind at any time. With the iDevices becoming popular and availability of music on the go, you can listen to all your favorite songs on iPad or iPhone with ease. However, have you ever thought of transferring your music files from iPad to iPhone? It is easy and a simple process, but not everyone knows how to do it. In this article, I introduce you 2 ways to transfer music from iPad to iPhone: via iMusic and Home Sharing.
Part 1: Transfer Music from iPad to iPhone via iMusic
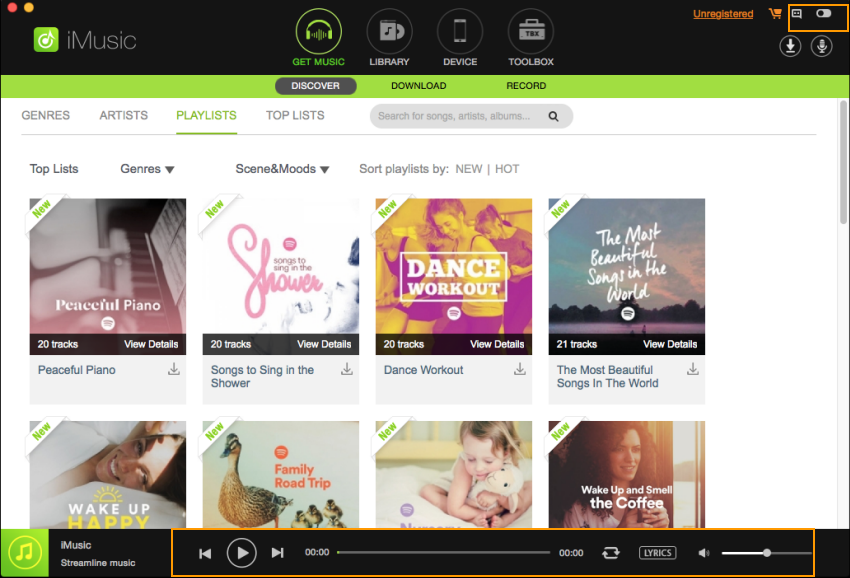
You can effortlessly copy all your favorite songs stored on your iPad to your iPhone by using iMusic application. The program copies the songs from your iPad and then transfers them directly to the iPhone. All you require is establishing a connection of the iDevices to the computer using the provided USB cables. iMusic program is a specially built software package for the music transfer between iPhone, iPad, iPod, computer and iTunes Library. Although there are several programs, the efficient features of iMusic make it the best one. Some of the salient features of the application are:
- 1- click to transfer music from iPad to iPhone (available for iMusic Windows version).
- Transfer music from iPad to iPhone selectively.
- Backup music from iPad or iPhone to iTunes Library and computer.
- Download music from over 3000 music sites for listening on the go.
- Save music from any music site, including radio stations by using the record feature.
- Discover and download music for totally free by using the built-in music library.
Step-by-step guide for how to transfer music from iPad to iPhone
There are some differences in iMusic Window version and Mac version. The following guide is based on how to transfer music from iPad to iPhone via iMusic windows version. For Mac users, please click here to check the steps to transfer music from iPad to iPhone.
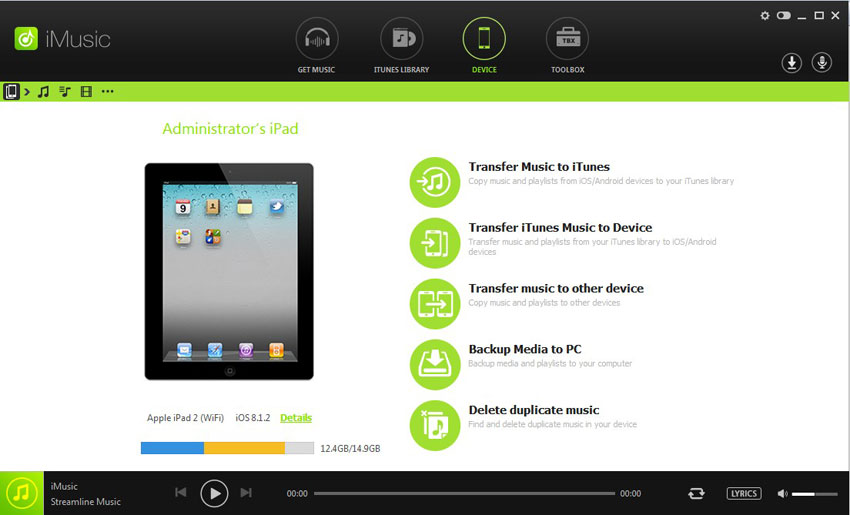
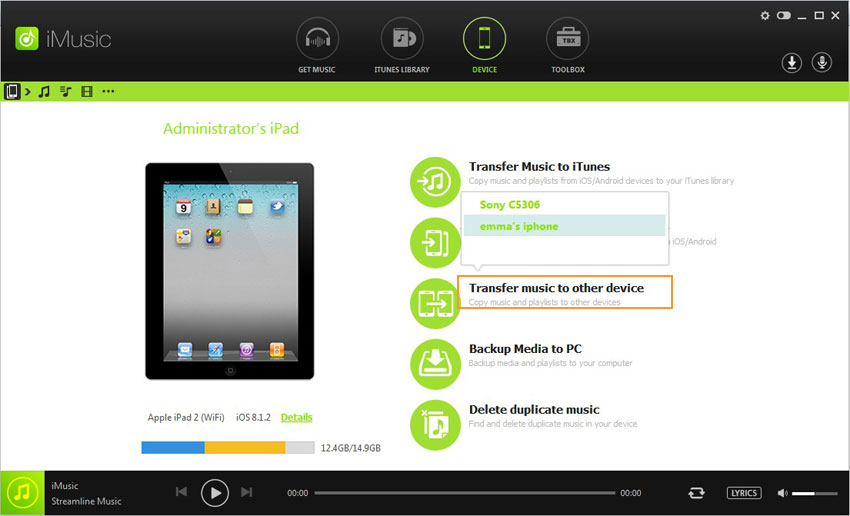
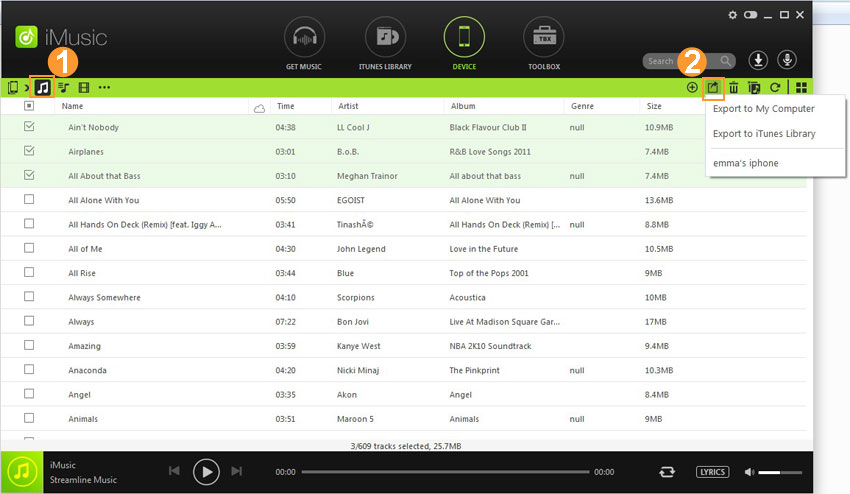
Step 3. Transfer selected music from iPad to iPhone: in the main window of “DEVICE”, display iPad in the window. Next, click the music icon on the left side of the window to show all iPad songs. Check needed songs, click the export button to export the selected songs to your iPhone.
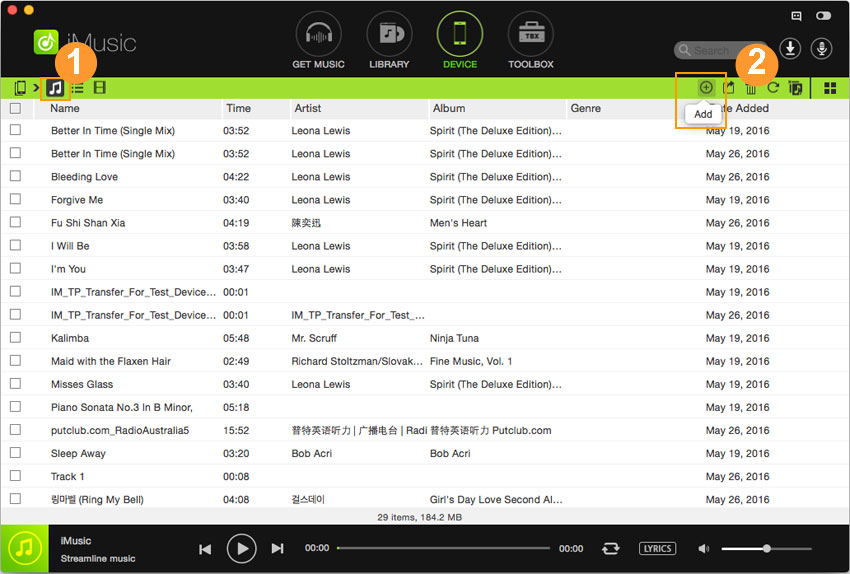
If you’re a Mac user, you need to connect your iPad to your Mac first. In the main window of “DEVICE” iMusic, click “Backup Music to Mac” to transfer all music from iPad to your Mac. Next, connect your iPhone with your Mac. Then in the window of “DEVICE”, click the music icon. From there, click the “Add” button on the right side, transfer music from your Mac to your iPhone.
Part 2. How to Transfer Music from iPad to iPhone with Home Sharing
What is Home Sharing?
Home Sharing from Apple gives you the opportunity to share the media files in the iTunes library up to five different computers in your house. You can even use the technology to extend the playback option to your iOS and Apple TV (2nd generation). The entire networking process works through your home Wi-Fi network.
Steps to transfer music from iPad to iPhone using Home Sharing
Before beginning the process, ensure that both the iPad and iPhone are on the same Wi-Fi network and connected.
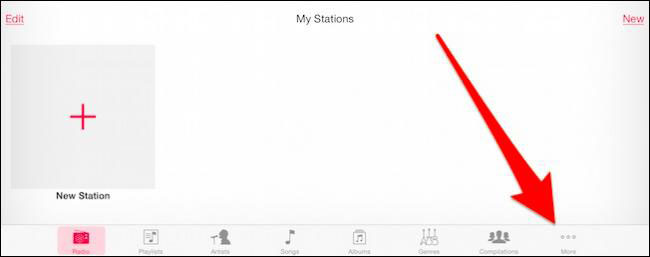
Step 1: Enable “Home Sharing” option on your iPad and iPhone. The login screen will appear, where you have to key in your Apple ID and password. Repeat the process for iPhone. Now open the “Music” app on your iPad. At the bottom, you will notice the artists, radio, playlists, and so on elements. Click on “More” option. If you do not see the option, please wait for a few minutes.
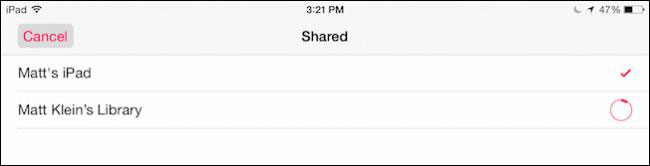
Step 2: From the next screen, click “Shared” to see the media files in the library. In the next screen, tick the library that you would like to connect. If you have a larger music library, it will take a while, so please be patient. Once finished you will notice a check mark on the shared library, which you can now access. You can share the entire library or only those files that you would like to transfer to iPhone.
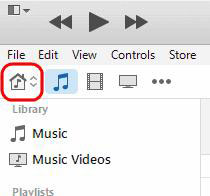
Step 3: Tap the home screen icon located on the upper-right corner of the iTunes window. From here, you can quickly view the music that you shared from your iPad.
Step 4: You can see all the media files in the library. Select the ones that you wish to copy to your iPhone. You can collectively drag the files to the left of the window. A sidebar will appear when you begin dragging the files. You can then drop the files in the window, which is that of the iPhone, to transfer the music files. The process of completing the action depends on the size of the files selected. For a faster transfer rate, select a limited quantity of data. Wait until the process is complete to see the files appear in your iPhone music app.
Moving music from iPad to your iPhone is no longer a tedious process. Use iMusic to copy all the media files easily from your iPad to iPhone in a few simple steps as explained above. Furthermore, you can even use the “Home Sharing” technology from Apple to transfer files using your home Wi-Fi network.


Any Product-related questions? Tweet us @iMusic_Studio to Get Support Directly