There are several occasions where you’ll prefer storing your music in CD so you can enjoy the music on your portable player, or release the storage from your computer or devices. Here you will get 2 ways to burn iTunes music to CD without any hassle.
Part 1: The Easiest Way to Burn iTunes Music to CD
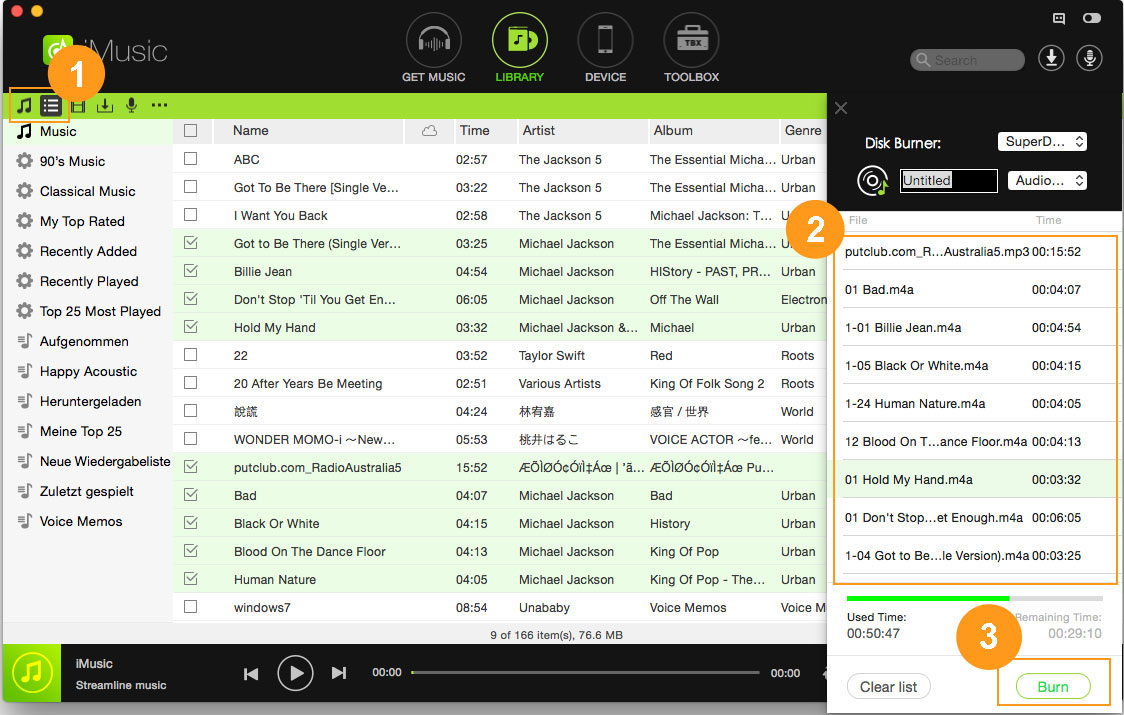
In this part, I will teach you how to burn your music from iTunes into CD’s using the iMusic. (When iTunes restricts you to burn some music files, especially the purchased content)
iMusic can continuously record playing music and split tracks to separate files automatically. It can record anything you are listening into in your computer, from YouTube Music video, internet radio (like 8tracks), music sites, etc.
- Record free music from 3000+ music sites.
- Record music from video sites like YouTube, Facebook, etc.
- Directly transfer recorded music to iTunes.
- Keep the recorded music in 100% original quality.

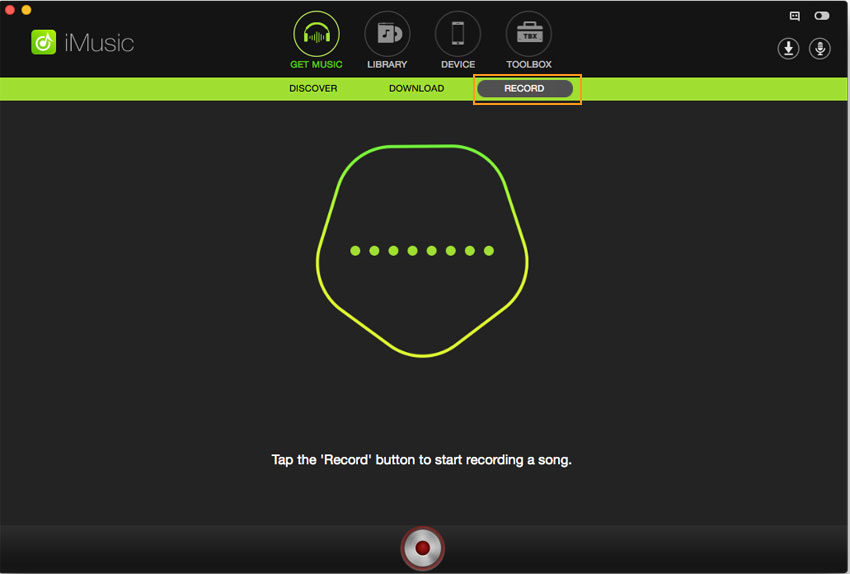
Step 1: Download the necessary software. Install it, launch the program, and prepare the music that you want to be recorded. Click on the RECORD tap and press the red button to ger ready to record music
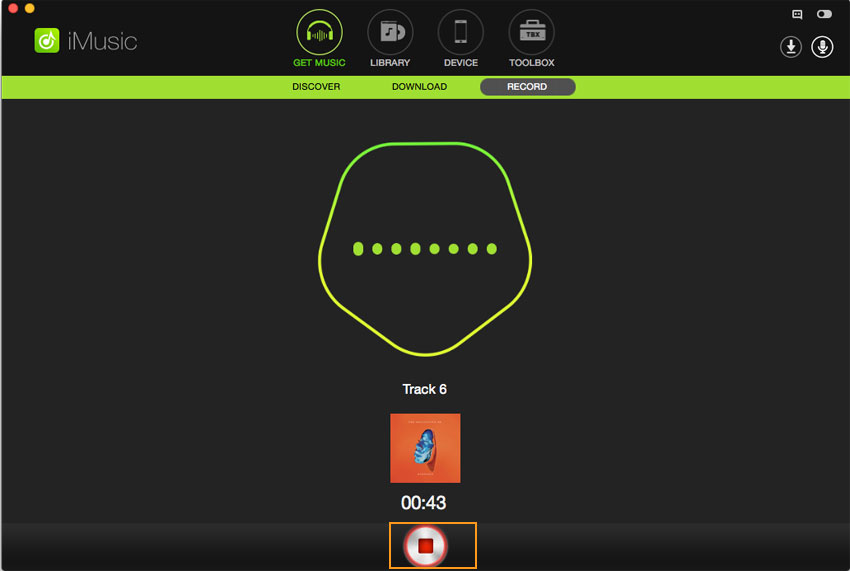
Step 2: Now play your desired music/playlist (in iTunes). Once the music or audio plays, it will start recording. Press the red button again when it finishs.
Part 2: How to Burn iTunes Music to CD Using iTunes
This tutorial will teach you how to burn iTunes music into a CD using iTunes.
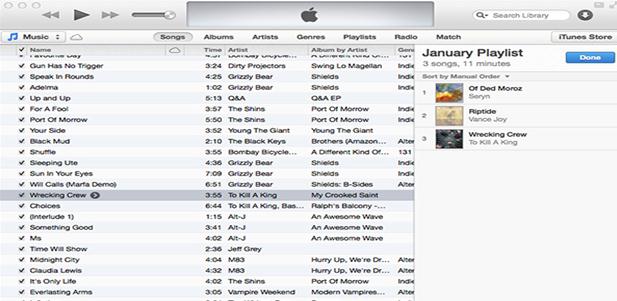
Step 1: Open iTunes application. You must first create a playlist with the music of your choice.
To make a new playlist, Go to the playlist tab at the top of your iTunes window, then press the + (plus icon). You will see the New Playlist option. Click it. You may rename the playlist. Drag the songs/album that you want and add them to the playlist.
Tip: You may prefer to have your music burn in an order that you want so you better arrange them into your desired sequencing.
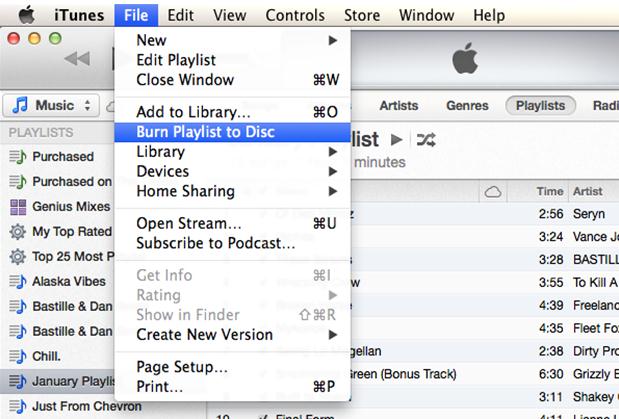
Step 2: Once done with your playlist, click the "Done" button. Now you can burn your playlist to a CD. Go to "File" and then "Burn Playlist to Disc". A window will appear, showing your Burn setting.
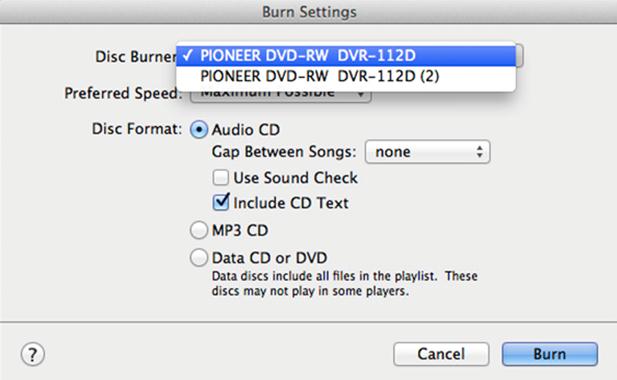
Step 3: Choosing your burner (This is for those who have multiple CD drives in there computer) Select the drive that has the burning function or select the drive that you want to use for the process.
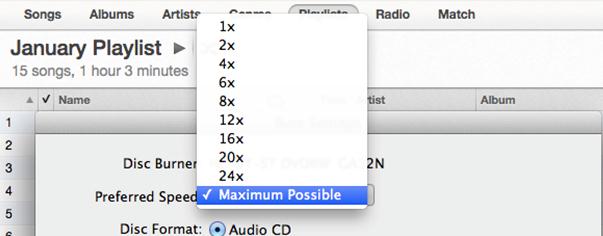
Step 4: Choose a preferred speed. This will determine how fast data will copied to the CD. Check the CD that you will use and it will show you the recommended speed for the burning
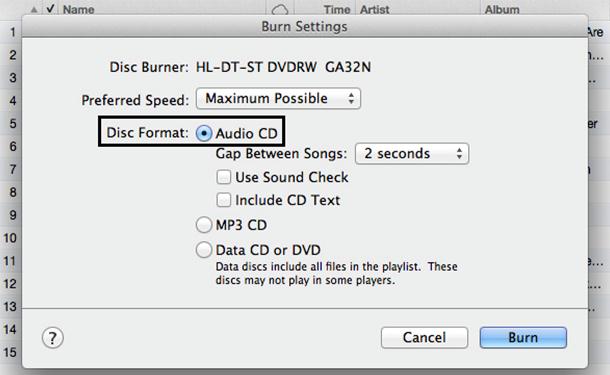
Step 5: Format the CD. Burn Settings will show you 3 options for the type of CD you burn: Audio CD, MP3 CD and Data CD/DVD. We will be using the Audio CD setting. Under the Audio CD settings you will have options to improve the burning process like adjusting the gap between songs and volume adjuster.
Gap between songs: This setting will create space between tracks during playback. You alter it from 2 to 5 seconds long. You can choose to have no gap between songs.
Use Sound Check: This equalizes the volume of each track to make them play at the same volume.
Include CD Text: If selected, information such as artist and track name will be displayed in some CD Players.
Press Burn in the Burn Setting window. ITunes will show you the progress of burning. After the burn progress, (Drum roll) now you have a new CD!


Any Product-related questions? Tweet us @iMusic_Studio to Get Support Directly