Here are a few tricks on iTunes sync music that should save time when you want to sync iPhone, iPod or iPad music with iTunes. And some tips below will help you to fix iTunes sync music not working.
Part 1: How to Sync iPhone, iPod, iPad Music with iTunes
One of the most basic procedures done using your Apple devices such as iPhone, iPod and iPad is syncing them with iTunes. This below guide allows you to process iTunes sync music to your gadgets.
Step 1
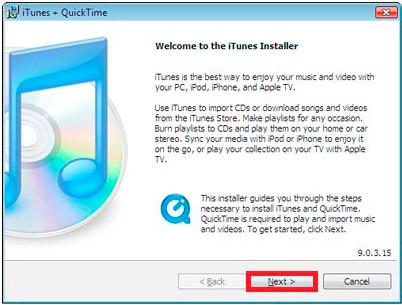
Install iTunes or update the latest version. Open the program.
Step 2
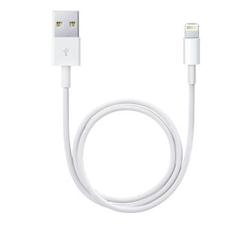
Your gadget comes with a USB cable. Use that as a source to connect your gadget to your PC.
Step 3
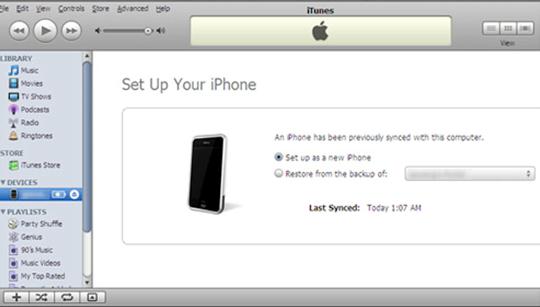
Once it has been plugged in, you should be able to locate your iOs device.
Step 4
Click the Library button. Look for your attached device in the upper right corner.
Step 5
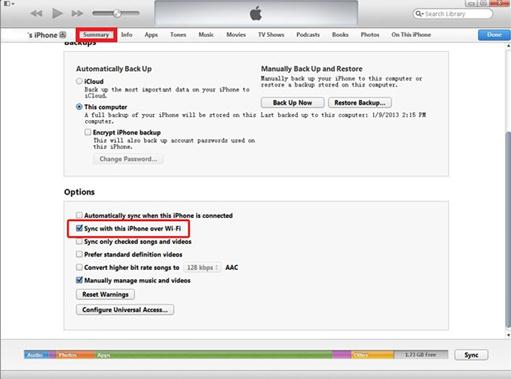
You should be able to see the Summary tab. Choose from the options whether you’d like it to sync when it is connected through USB or you can click Sync with this over Wi-Fi.
Step 6
When you’re using Wi-Fi, syncing will be successful if the computer and your iOS device are in the same network.
You can select the device and configure sync as well as other options when it’s connected to iTunes using Wi-Fi connection.
Just click Apply or Sync to start the process.
Part 2: Troubleshooting on iTunes Sync Music Not Working
Problem 1. Your device’s ability to sync music takes forever
Solution: Your device might take a long time to sync music because of the number or size of the graphics that come with the tracks. Try deleting them to free up some space.
Problem 2. Your device is not syncing music at all
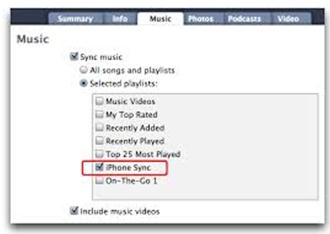
Solution: Connect the device to your computer and open iTunes. Using your device, go to Settings > General > Usage > Manage and delete all the music in your library. Go to iTunes. Click Music tab. Uncheck Sync Music. Check the Sync Music box again. Your device should be able to sync the music now.
Problem 3. iTunes Match gets in the way of syncing
Solution: Check your settings if iTunes Match has been switched on. It will give you a hard time allowing iTunes to sync your music. Disable this mode for smooth syncing.
Problem 4. iTunes Match has been disabled
Solution: Syncing continues to be a problem despite iTunes Match has been disabled. Try plugging your device into the PC. Open iTunes. Then, select your device from the dropdown menu. Click Music. It can be found on the left side on the navigation panel. Uncheck the box Sync Music. Click Apply or Sync. After the syncing process has been completed, check the box Sync Music again and click Apply or Sync for the second time. This should help restore your music on your device.
Problem 5. Duplicates of a purchased songs
Solution: Many people don’t know about this but this has caused problems in syncing music in iTunes. Delete the duplicates by selecting all the tracks in your Music library. Click View and Show Duplicates. Remove the duplicates and try syncing your device. It should be able to work this time.
Part 3: The Best Solution for iTunes Sync Music Not Working
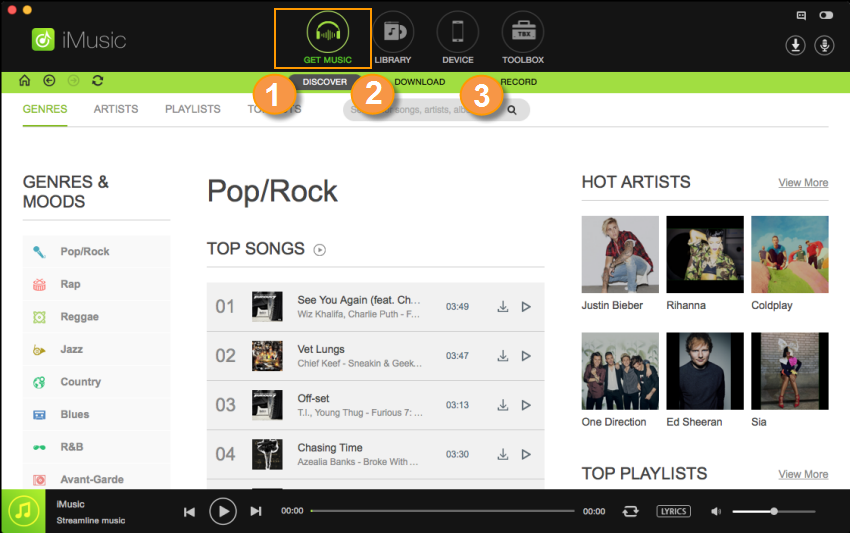
It is frustrated that iTunes sync music not working properly or iTunes lost music when syncing. To avoid this happen, you can use a third-party syncing tool like iMusic for syncing. This program allows you to sync music, videos, photos and other files to iPhone, iPod, or iPad without deleting contents. Better than iTunes, it comes with the ability to transfer iDevice contents to iTunes library or Mac for backup. Just take a trial.
Simple steps to sync music
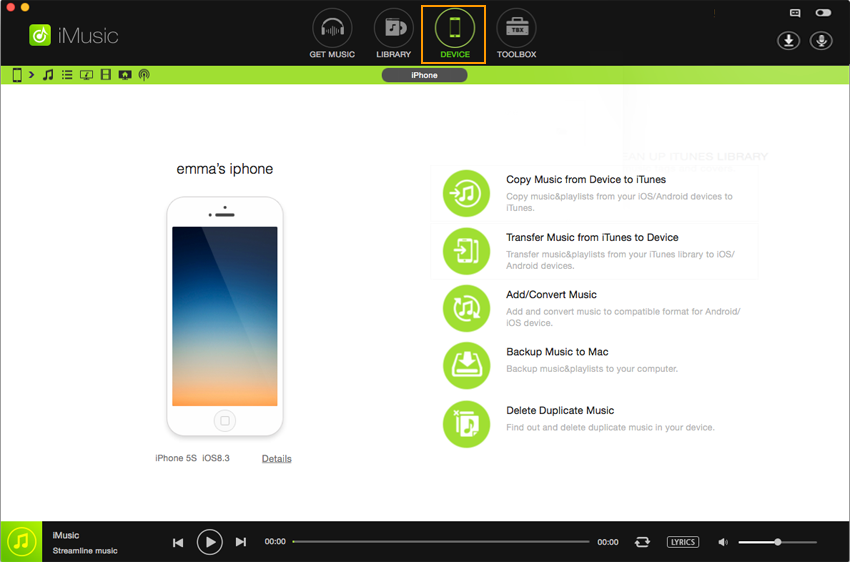
Step 1: Download iMusic from the links below. Install and launch it. After then, connect your device (iPhone/iPad/iPod/Android phone) to your Mac/PC using an USB cable. When connected successfully, it will appear in the “DEVICE” window.
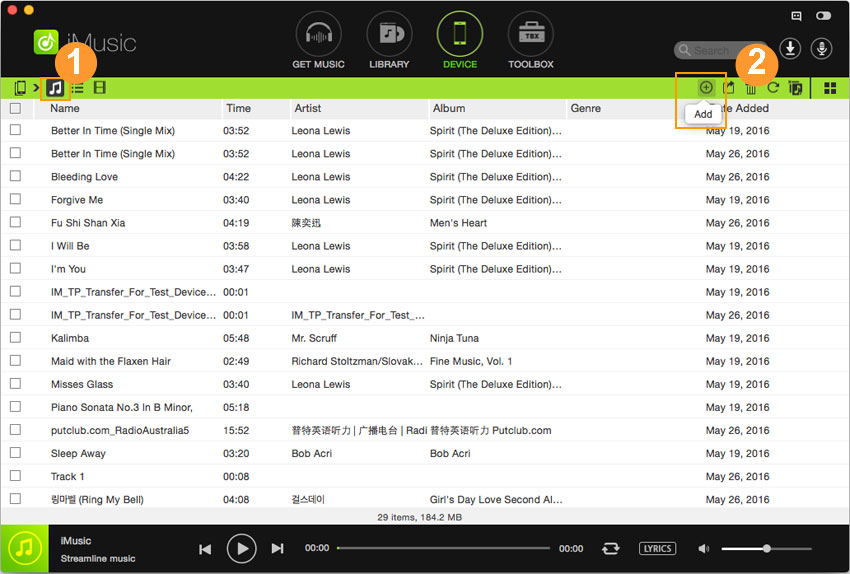
Step 2: Click “DEVICE” on the ribbon to enter the management window. In the window, click the music icon on the left side to display all songs on the device connected to computer. After then, click the add songs icon on the right side, click "Add File/folder" to choose the music you want to transfer.




Any Product-related questions? Tweet us @iMusic_Studio to Get Support Directly