For people who are really interested in exporting music from iTunes Library to USB/ Flash Drive, there are some drawbacks when it comes to transferring their music files. No matter what format the files are present in, they must first be converted into the MP3 format, otherwise you will not be able to play the files and enjoy your music. In this article, we will briefly guide you through how you can convert your iTunes music to Mp3 files, and export music from iTunes to MP3. Mostly, the file formats that are playable in iTunes Library include AIFF, WAV, AAC, and M4A. However, there is an option that is built into the iTunes library which converts your iTunes Music into an MP3 format.
Part 1: Guide for How to Convert iTunes to MP3
So what are the necessary steps that should be taken to ensure that your songs have been converted into MP3 so that they can be played in places other than the iTunes library itself? The procedure is listed below:
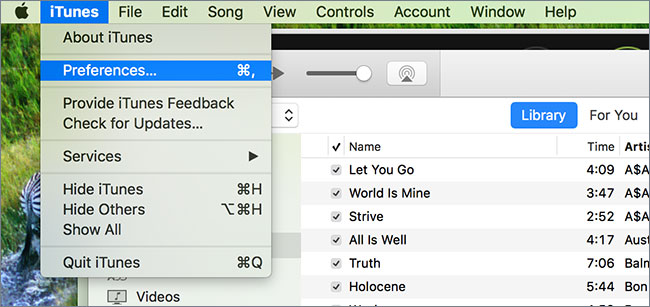
Step 1: First of all, you have to open your iTunes. To do this, double click on the iTunes icon that is present in your system. iTunes will now open. If you have a Mac, choose the option of “Preferences” which is under “iTunes” from your menu bar. However, if you’re operating on a Windows system, you must choose “Edit” instead of “iTunes” and then navigate to “Preferences.”
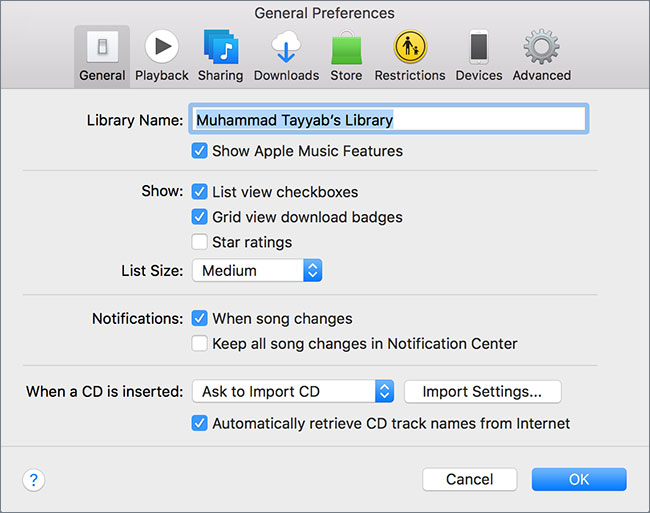
Step 2: Now, you will have to select the General Tab. Once this is done, you will find the option of “Import Settings” that will be present on the lower side of the window. Click on this.
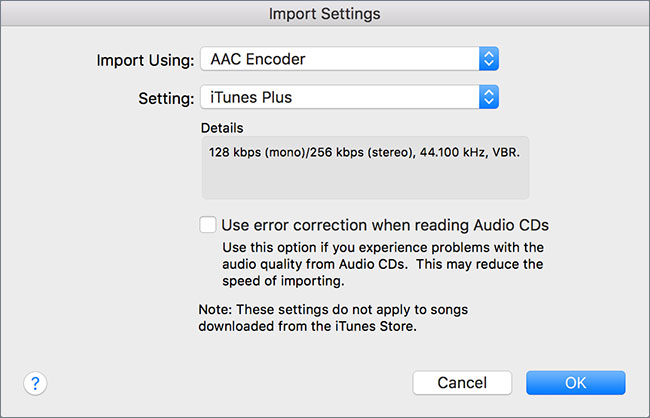
Step 3: Now, there is an option to choose which type of encoding format that you would like to convert your file into. Choose MP3 to convert iTunes file into MP3 format. The encoding option that can be found by clicking on the menu that is right next to “Import Using.”
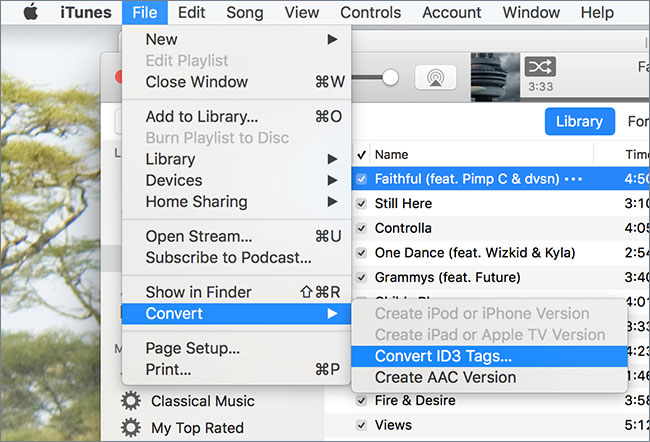
Step 4: To save your settings, click on OK. Now, you will have to select the songs that you will be converting into the MP3 format version. Select these songs and proceed to the next step. In the “File” section, you will find the option of “Convert.” Once you’re done with that, you will now choose the option of “Create Mp3 Version.” All your converted songs will now be playable and can be seen in your library.
Now that you have converted the files, you would also want to be able to transfer or export it to a USB/Flash Drive so that it can be used in other places. You might want to put this music into a car, or just play it from the speakers, or just make a backup of it on a USB. There is no better software that will help you manage and export your music from iTunes to USB than iMusic.

This software is your perfect music companion that you have been looking for. With this application, you get the ability to discover, record, download and transfer music to your iTunes library from any place, both iOS and Android, which increases its uniqueness. For audiophiles, iMusic is the best tool to tinker with music. You can transfer anything, including songs, videos and even photos from your computer to iPod, bypassing iTunes. Moreover, iMusic also makes sure that when you transfer files into your iPod, the music file type is easily playable on an iPod. If the file type is different, it is automatically changed by the software.
The software has multiple amazing features, including music transfer. One of the most tiresome tasks that any audiophile dreads to face is transferring the music you love to your iPhone/ iPad through your computer. However, now with the “Transfer” feature that iSkysoft has to offer, you can move your music files, podcasts, playlists and TV shows to all you Apple products in mere seconds. Moreover, now you don’t ever have to worry about losing your playlists again since you can create backups of your music collection. You can also copy any music files from your Apple products to your iTunes library easily and without any duplicate tracks.
So now, let’s take you through the steps which will ensure that your iTunes music is exported or transferred to an external hard drive/USB/Flash Drive. These steps are explained below:
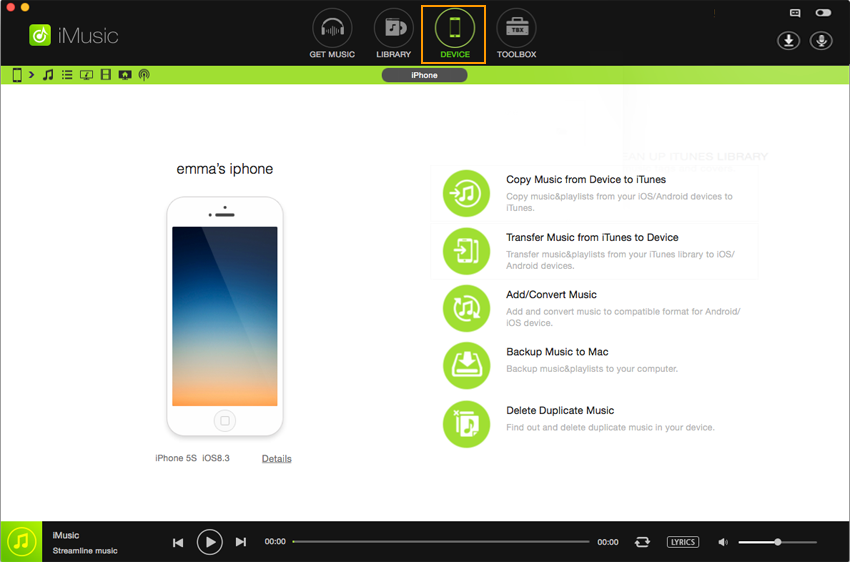
Step 1: First, you should download iMusic on your PC. After you're finished with installing the product, you should launch the program. You need to make sure that the USB/Flash drive/Memory stick is connected with the through a USB port. Your gadget will be automatically detected by the product.

Step 2: To get to the audio file management window, you should choose the "Music" option that is on the top part of the window. All your sound file types can now be seen on the left sidebar, while all of songs will be shown on the right sidebar.
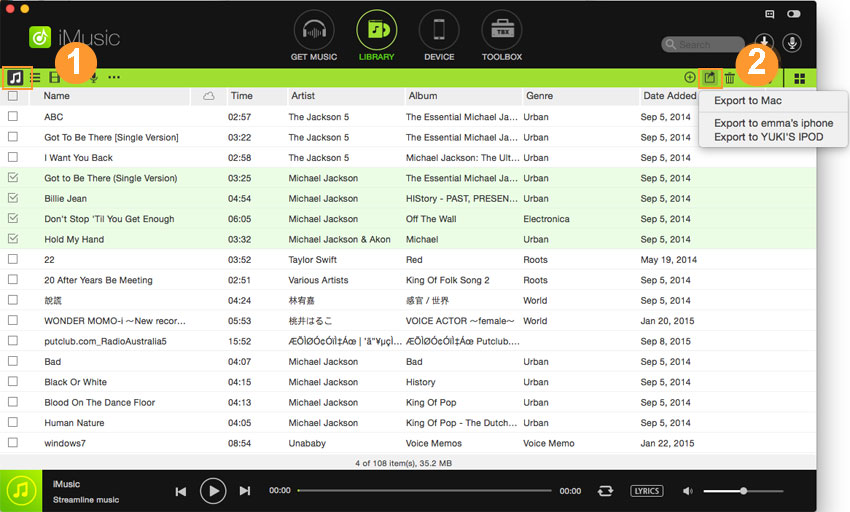
Step 3: Check every one of the song that you might want to export to the USB/Flash drive. You will now need to transfer these songs. To achieve this, select the "Export" option, and after that select the USB/Flash Drive/ Hard Drive that you might want to transfer the files to.
The process is finished. Make the most of your music!


Any Product-related questions? Tweet us @iMusic_Studio to Get Support Directly