Having your music stored on a USB Drive as well as in your iTunes Library is really beneficial for a number of reasons. In the case of a hardware failure, you will need to rebuild the whole library that you have in your iTunes, so a USB device can be used as a backup option. Moreover, you can also use a USB to store your videos, photos and music since this data can take a huge amount of space, and in order to free some space you can just transfer it to a USB device. You can also just plug in the USB that has all your music stored in it, and it can be played anywhere in your home device or any speakers which might have a USB port in them.

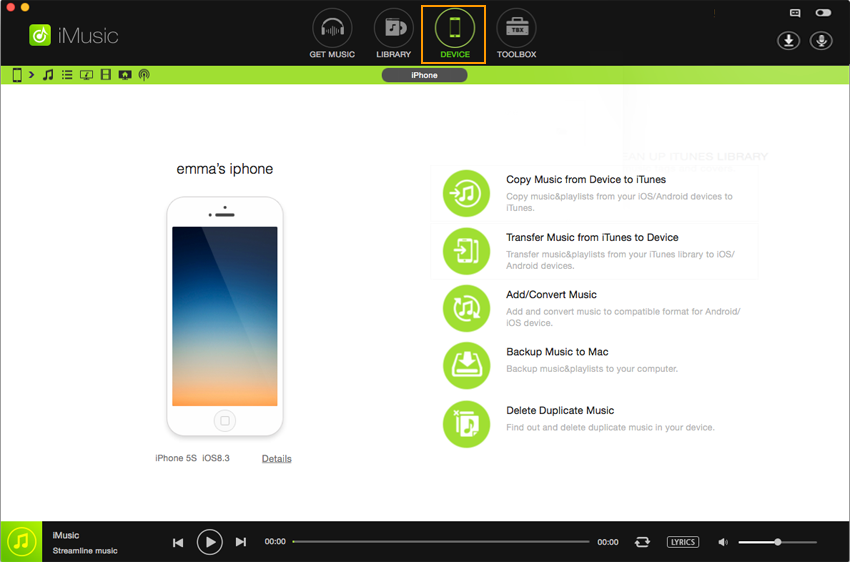
There is no better software that can be used to transfer music from iTunes to Flash Drive other than iMusic. This software is one of the most beloved tools used by audiophiles, and it can be easily used by everyone to carry out tasks that cannot be performed by other software. With the “Transfer” feature that iSkysoft offers, you can move your music files, podcasts, playlists and TV shows to all you devices in mere seconds. Moreover, now you don’t ever have to worry about losing your playlists again since you can create backups of your music collection. You can also copy any music files from your Apple products to your iTunes library easily and without any duplicate tracks.
But wait! iMusic also has more features other than these. Well, the “Discover” option allows you to search for music from around the world in seconds. Now as a result, you will be able to access your favorite songs and albums from your favorite artist, and the best part? All this is available in the same place!
There is also an option to “Download” as a result of which, you are allowed access to 3,000 + song sites that are downloadable. Not only can you download music from the internet, you can play songs that are downloaded from Facebook, Vimeo, Spotify and last.fm among other multiple platforms. All these songs can be directly downloaded to your iTunes Library, and can be later transferred to your iPod/iPad.
Sometimes, you’re sitting in a restaurant, or driving on the road, and you hear a song that you’ve never heard before, but you really like it. Now, with the “Record” option, you can save the song that you want, and then you can play it later! If you like the song, just record it, and save it!
One-click to Transfer Music from iTunes Library to USB Flash Drive – via iMusic
So what are the required steps that you will need to follow to transfer music from iTunes Library to USB flash drive? Well, the process is really simple:
Step 1: First, you will have to download iSkysoft iTransfer on your computer. The software can be downloaded from the links below. Then install and launch the program. Please ensure that the USB/Flash drive/ Memory stick is connected to the computer which has iMusic downloaded on it through a USB port. Now your device will be automatically recognized by the software.
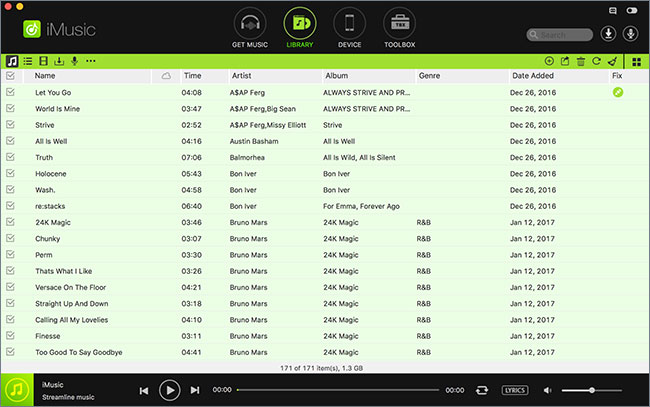
Step 2: To access the audio files management window, you will have to select the “Music” option that is on the top of the window. All your audio file types in iTunes can now be seen on the left sidebar, while all the songs can be displayed on the right sidebar.
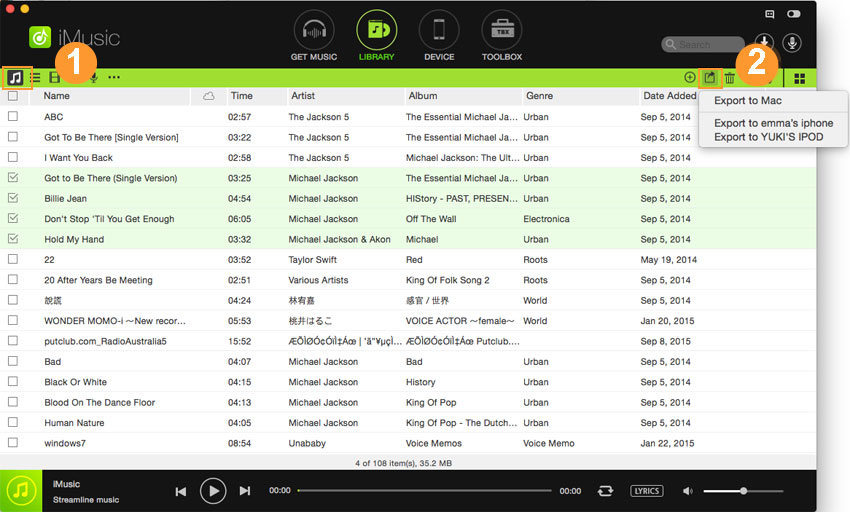
Step 3: Check all the songs that you would like to transfer to the USB/ Flash drive. You will now need to export these songs. To do this, select the “Export” option, and then select the device that you would like to export the files to.
Now the process is done. Enjoy your music.
Another alternative method of transferring music from iTunes to Flash Drive is by doing it manually. One of the main problems with this technique is that all the songs will not be stored in the same folder, rather that each and every song has its own folder in which the song is stored. This might present a lot of problems for the person who’s transferring the music, so people prefer using iMusic to transfer their music. So now, let’s take you through the steps through which you will be able to manually:
Step 1: First of all, launch your iTunes by double clicking on the iTunes icon in your laptop.
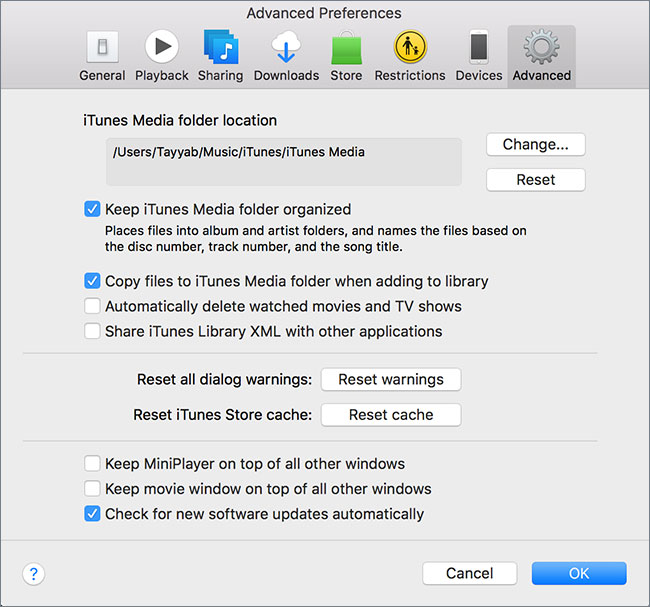
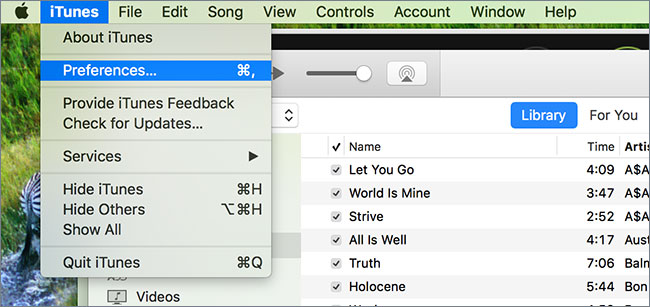
Step 2: To make sure that the process of transferring music from iTunes to flash drive is easier, you should organize your media folder. To ensure this process is completed, you should select the option of “Keep iTunes media folder organized.” This option is located in the Preferences Tab of your iTunes.
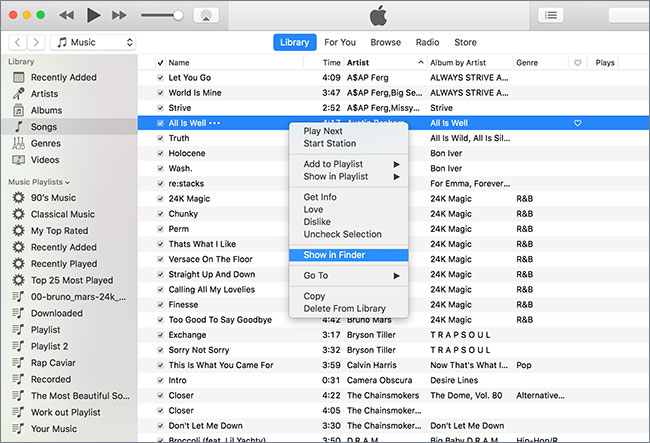
Step 3: Now, you will need to find where the media folder is located on your Mac/PC i.e. where are the data files that are present in your iTunes located in our laptop. You can find them by right clicking on them and select “Show in Finder”.
Step 4: Once you have found these, you can just go to the media folder where your iTunes Library data is stored and then copy and paste to the USB/ Flash drive. Now, you have manually transferred music from your iTunes to Flash Drive.


Any Product-related questions? Tweet us @iMusic_Studio to Get Support Directly