Have you recently lost access to your iTunes library? Did you accidentally make changes to your iTunes library that you wish to revert? Well, then you need to restore iTunes library to a desired state from the past. In this guide today, we discuss the methods that you can use to recover or restore your iTunes library from an external hard drive or third-party backup. The article features a step-by-step guide on how you can restore iTunes library from your iPhone, iPad, iPod, or external hard drive.
Part 1: How to restore iTunes Library from External Hard Drive
This is a method that has been provided by Apple Support itself for recovering iTunes library directly from a backup on an external hard drive. Here are the steps that you need to follow:
- If iTunes is open on your computer system, close it to ensure that there is no problem in recovering the backup.
- Navigate to your external hard drive directory and drag the iTunes folder (the backup folder) to the desired location on your internal hard drive. While you can copy the backup folder to any directory, we recommend that you copy it to the default iTunes directory.
- Now, hold down the Shift key (for Windows users) or Option key (for Mac users) while opening iTunes on your computer system.
- A message dialog asking you to Choose iTunes Library will appear before you, click on Choose Library from here.
- A browse dialog will open up, navigate to the iTunes folder that you copied in Step 2 and select Open (for Windows users) or Choose (for Mac users).
- You will now be able to see the contents of the folder. From here, choose the “iTunes Library.itl” file to restore your iTunes Library.

Part 2: How to restore iTunes Library from a Backup on CD
If you backed up your iTunes library in a CD (or DVD) disc at an earlier point then it is possible to restore your iTunes library directly from the disc as well. Here is how you can do this:
- On your Mac or Windows, start iTunes.
- Insert the backup disc into your CD drive.
- Once the CD disc has been read by the computer system, you will be prompted with a dialog box asking if you wish to restore iTunes library. From here, choose the option that says “Overwrite Existing Files”.
- Now, click on Restore and the recovery process will start automatically. Follow the on-screen instructions to ensure that the process is completed successfully.

Part 3: Restore iTunes Library with iSkySoft iMusic
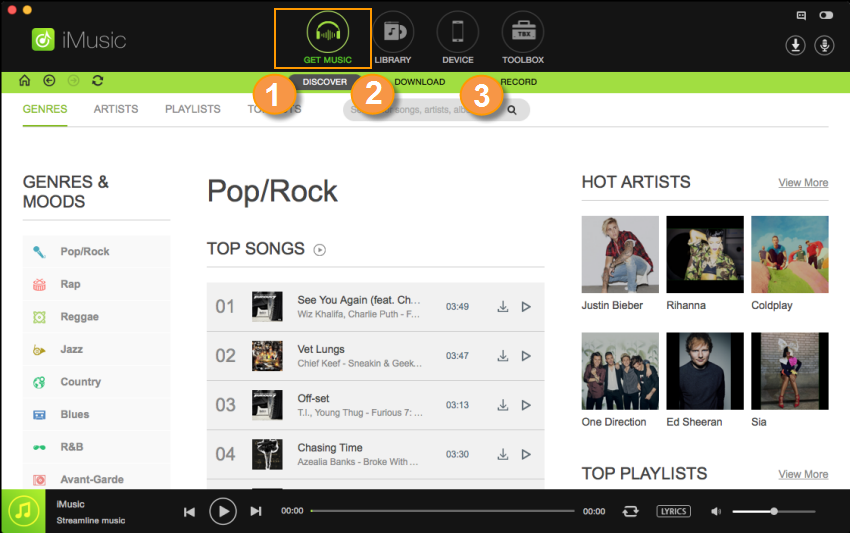
iMusic is an incredibly powerful multimedia management tool that has been specifically designed for catering to the needs of iPhone, iPad, and iPod users. From organizing your music database to fixing connectivity issues with iTunes, iSkySoft iMusic is the ultimate solution to all your problems. It is a universal tool that comes in handy in a number of situations where all other traditional methods fail. With a beautiful interface that is very easy to use and understand for even the most novice of users, iMusic is our recommend tool for multimedia management (and fixing those pesky errors with iTunes).
Main Features of iSkySoft iMusic:
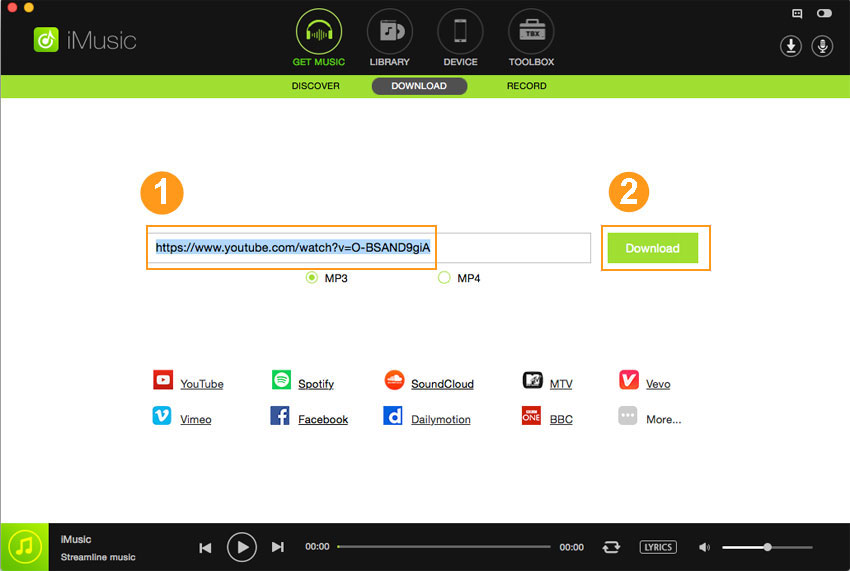
- Download music from more than 300 music sites, including YouTube, by copying and pasting the URL.
- Record unlimited music from any website or any audio or video playing in your computer with just one click.
- Built-in music library let you browse and preview the lattest and hottest music from popular music sites.
- Automatically save downloaded/recorded music to library for management and easy transfer.
- Identify and tag music with artist, title, album, genre, and more with the latest ID3 tag technology.
What You Will Need:
A Computer;
iMusic
Time Required:
Variable depending on the file size
Difficulty:
Easy
How to restore iTunes Library from External Hard Drive with iMusic
Step 1: Download and install iSkySoft iMusic from the links below. Once downloaded, launch iSkySoft iMusic on your computer.
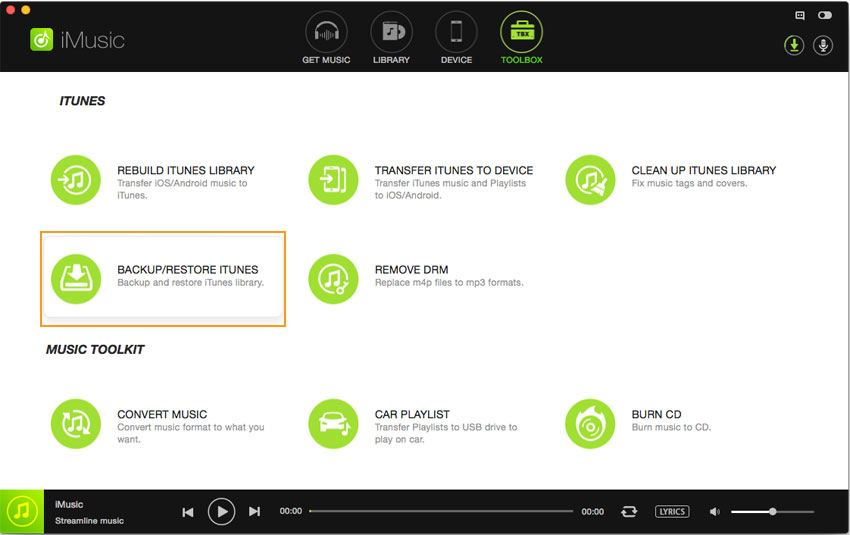
Step 2: From the main screen, click on the Toolbox option that is available on the top of your screen. Now, click on Backup/Restore iTunes. You will now be able to see two options for Backup and Restore. Click on Restore.
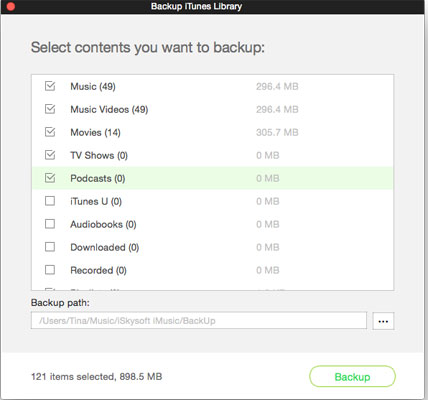
Step 3: A browse dialog will open allowing you to select the location of the backup on your iPhone, iPad, iPod, or external hard drive. Navigate to the directory with the backup and select the music files that you wish to restore. Now, click on Restore to proceed forward. From here, you can choose to overwrite existing files or continue with the current music library in place.
How to restore iTunes Library from iMusic backup?
- After you have downloaded and installed iSkySoft iMusic, launch the application.
- From the dashboard, choose Toolbox and then Backup/Restore iTunes option.
- Click on Restore here and navigate to the location of the iSkySoft iMusic backup on your computer system.
- Click on Restore to allow iMusic to automatically restore all music files of your choice.
-
Once you click on Restore, you will be able to choose from one of the following two options:
a. Restore iTunes Library without overwriting existing files – to keep the current settings and music files.
b. Restore iTunes Library with overwriting – this will erase all current settings and music files. To choose this option, you will need to check the box that says Delete current iTunes library before restoring from backup. - That’s it! Your iTunes library will be restored from the iSkySoft iMusic backup file.
Although there are multiple methods which can be used to restore iTunes Library on your computer, but the best one is using iMusic which does not only provide the simplest method to restore the music on your computer but also features the high end features such as downloading or transferring music for absolutely free of cost. All in All, we will highly recommend you to download and use this program to restore iTunes Library from iPhone, iPod Touch or iPad.



Any Product-related questions? Tweet us @iMusic_Studio to Get Support Directly