Audacity is known for its great audio recording and editing capabilities. It comes with effects and tools that allow you to tweak your songs and recordings in order to produce outlandish vocal effects. Among the amazing functionalities that this software program gives you is auto-tune. Nearly all radio songs are mixed using Audacity AutoTune and most live performances depend on it for correcting bad notes as well as wavering pitch. Audacity makes AutoTune available to you free of charge.
Part 1. How to Manually AutoTune with Audacity
To be able to get good vocal effects with Audacity auto-tune, you need to know how to use it properly. The following is the step-by-step guide for manually auto-tuning using this software program.
1. First, you will need to make sure that Audacity is installed on your computer. You can download it for free here.
2. After Audacity has installed successfully, you will need to download its verified plugin called Audacity VST Enabler and then install it too. This plugin makes the process of adding auto-tune features to the application much easier. You can download it here .
3. After that, download GSnap, which is an auto-tune effect. You can add it to Audacity in order to have more control over auto-tune. You can download it here.
Note: GSnap is not a software program, but rather a specific effect that can be added to Audacity in order to make the process of auto-tuning songs easier. Before using it, make sure that Audacity can find it. You can do this by exporting the GSnap zip file that you downloaded by right clicking on it, and then choose Export Zip. After that, copy the zip files that are labeled GSnap.dll and GVST License, and then navigate to C:\Program Files (x86)\Audacity\Plug-ins, and then paste them there.
4. Once that is done, you can launch Audacity so that the new effects can be registered. When the application opens, a small window that asks to register effects will appear. There will be two lines for both GSnap and VST. Make sure that both boxes are checked, and then click OK to proceed.
5. After making sure that the effects are registered properly, you can go ahead to auto-tune with Audacity. You will need to record your voice or open a vocal file. It will be a good idea to start with a simple voice recording in order to learn how auto-tune works first before you start using it for complex projects.
6. After recording the voice or opening a vocal file, highlight the part that you would like to auto-tune. You can do this by using the Selection Tool that looks like a large upper case letter "i" in Audacity.
7. The next thing is click on Effect, and then choose GSnap to open the auto-tune window.
8. Choose the desired key by clicking "Select a Scale". After choosing the key, check the button that says "Fill Threshold".
9. After that, set the knobs to auto-tune levels in order to get a unique sound.
10. And then click "Apply" to start auto-tuning the vocals.
Part 2. What is Audacity Vocoder?
Audacity vocoder is an effect that combines the recording of a human voice together with a synthesized wave form in order to produce a robotic kind of effect. Audacity audio recorder includes a vocoder plug-in that allows you to produce this effect with absolute ease.
You may be wondering how the vocoder works. Well, it synthesizes a modulator, which is usually a voice, in the left channel of a stereo track with the synthesized sound on the right in order to produce a modified version of the sound in the left channel. If you vocode a normal voice that has some white noise that as a result of the effects provided, the result will be a robotic kind of voice for the special effects.
You can use other carrier waves for voices that are subtly different, for instance a musical tone, a sawtooth tone, or a synthesized string chord. In case you do not see the vocoder effect in your Audacity software program, you will need to upgrade the software to the latest version.
Part 3. All-in-One Music Downloader and Management Software - iMusic
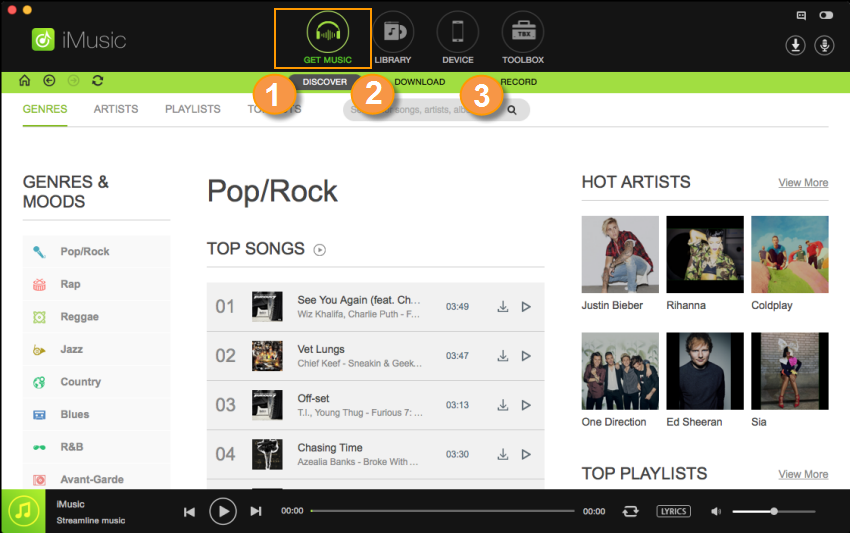
iMusic is a great tool that integrates all the features you need for getting and managing music. It is able to download and record music from music sharing sites, transfer music between computer and iOS, Android devices. Here are the features that make it stand out.
- Download music from more than 300 music sites to totally free.
- Download YouTube music to MP3 and save to iTunes Library directly.
- Record music from music sites, software that can play music on computer.
- Transfer music between Mac, Windows, iTunes Library and iPhone/iPad/iPod and Android devices
Why not download the latest version to have a try!


Any Product-related questions? Tweet us @iMusic_Studio to Get Support Directly