Streaming services have brought easy music consumption to everyone, and Pandora, with its tailored “stations” that plays music associated with your favorites, is arguably the best streaming service out there.
However, even in today’s world there are circumstances where streaming is impractical, either through simply being in an area or situation where internet connectivity isn't possible, or for situations like running or other sports and exercise activities where the listening device will be small and not internet enabled for practicality, such as the smaller iPod range. In this case, being able to download Pandora to iTunes is the best way to enjoy your tracks when you are in situations that make streaming impractical or undesirable.
Part 1. The Best Pandora to iTunes Downloader
Having established why we would wish to download our Pandora music, the question that comes to mind is, obviously, how do I download from Pandora? The good thing is that there are several software packages that can do this for you, the best of these isiMusic, and so we will now have a look at what makes this such a good choice.
- Download music from more than 300 music sites to totally free.
- Download YouTube music to MP3 and save to iTunes Library directly.
- Record music from music sites, software that can play music on computer.
- Transfer music between Mac, Windows, iTunes Library and iPhone/iPad/iPod and Android devices
- Built-in "LIBRARY" gathers all the songs on your computer for further music fix and management.

Part 2. How to Download and Import Pandora Music to iTunes
So, firstly we have discussed why you would want to download your Pandora music tracks, and then looked at the best software package to help you manage it, now it is time to go through recording your music from Pandora and getting it into iTunes, just to show how easy it all is. First off is installing iMusic, this should be easy for everyone.
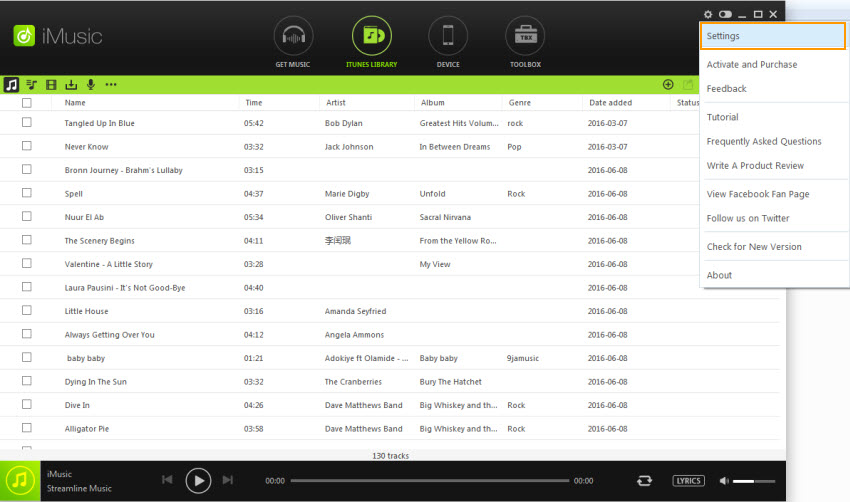
Step 1: Download and run iMusic from the link below. To record Pandora, you firstly start up the software to get it ready to record. Click the Setting icon at the top right-hand to set the preferences. From there you can set destination for files, record model and so on.
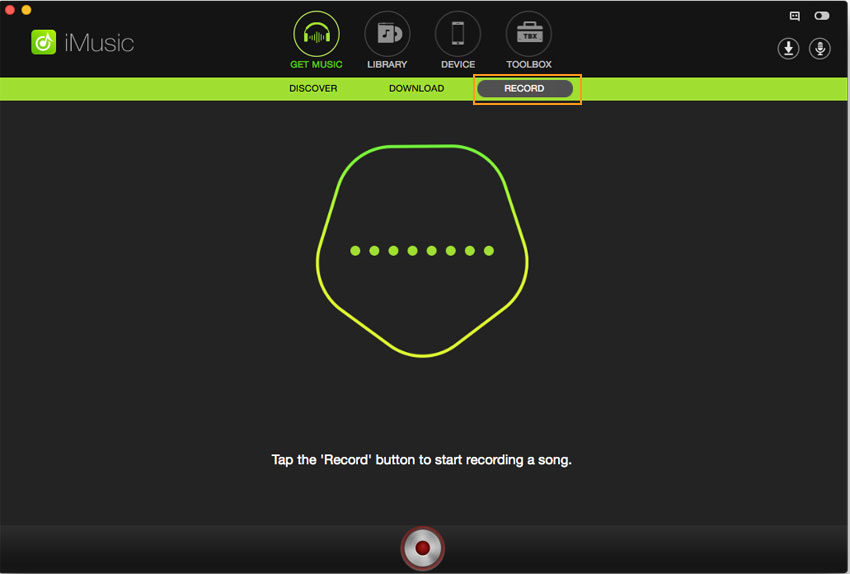
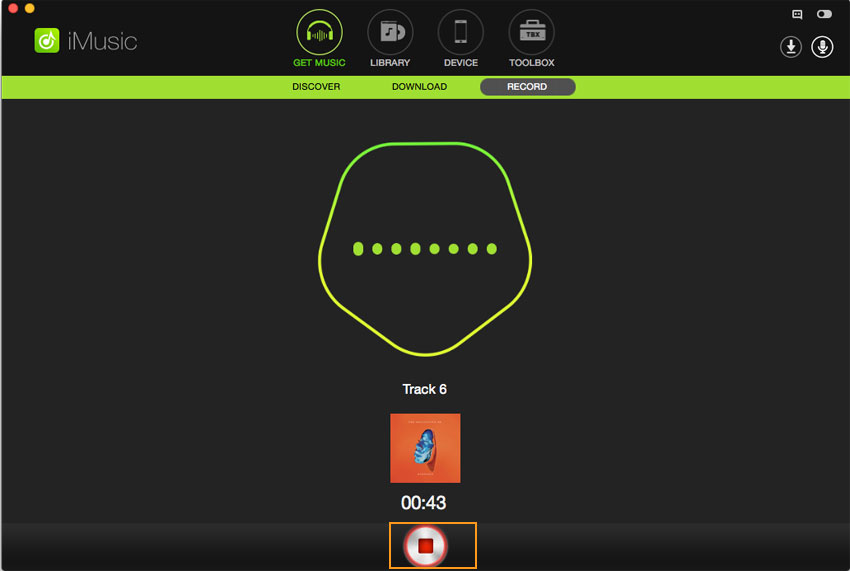
Step 2: After setting the preferences, go back to the Record surface. Click on the big red button to get ready to record music. Now you simply launch Safari and go to your Pandora account and start it playing. In Record mode, iMusic will detect the music automatically and start recording it. iMusic will filter out any ads or gaps, split the tracks out and tag each one with its appropriate title, artist and album name as it goes. Once you want to finish recording, simply press the Stop button and exit Pandora.
Step 3: The final part of this is getting the music into iTunes so you can use it easily with other devices. This is also a simple operation, going into the Music Library, you simply select the tracks you wish to import into iTunes, and click the Add to iTunes’ button at the top right-hand menus. Everything is done for you.
Pandora and iMusic really do work well together, enabling you to have your favorite tracks from Pandora available wherever you go, even on devices that lack any internet connectivity at all. As we can see, it is all done simply, quickly and fuss-free.


Any Product-related questions? Tweet us @iMusic_Studio to Get Support Directly