There are plenty of ways of transferring the music from your Android to Windows Computer and Mac OS X and Windows. Some users can easily copy the music from one folder and can paste it in another folder. However, if tracks are present in different folders or you want to copy the Playlists, it will not be possible using this method. Moreover, it becomes very difficult for Mac OS X users to transfer the music from Android Phone to the iTunes library or in a particular folder. In order to resolve this issue, users will have to use a third party software such as iMusic to transfer the music from Android Phone to computer. This article will give in-depth of each and every method that can be used to transfer the music from Android Phone to your computer.
1st Method: Transfer Music from Android to Computer (Easiest Way)
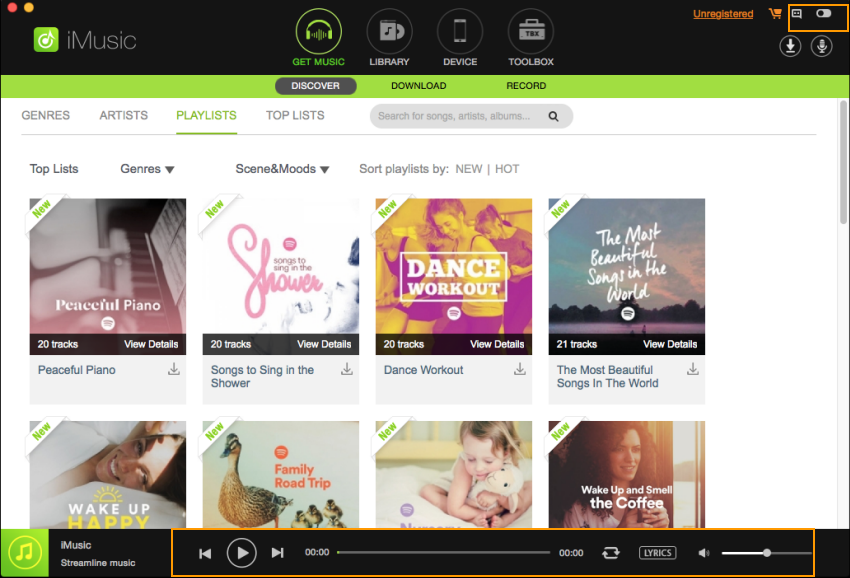
The easiest way to transfer music from your Android Phone to Computer is using the iMusic. This amazing program is available for both Windows and Mac OS X users. You can transfer music from your Android Phone to computer, iTunes Library and even an extra hard drive, and vice versa. Apart from being a perfect to transfer music between computer and Android Phones, it is also a remarkable downloader. It can download music from more than 3000 website, including Spotify and YouTube. For services like Apple Music, users can use the record option to record the tracks in high quality. iMusic will automatically add the ID3 Tags or missing artworks to downloaded songs.
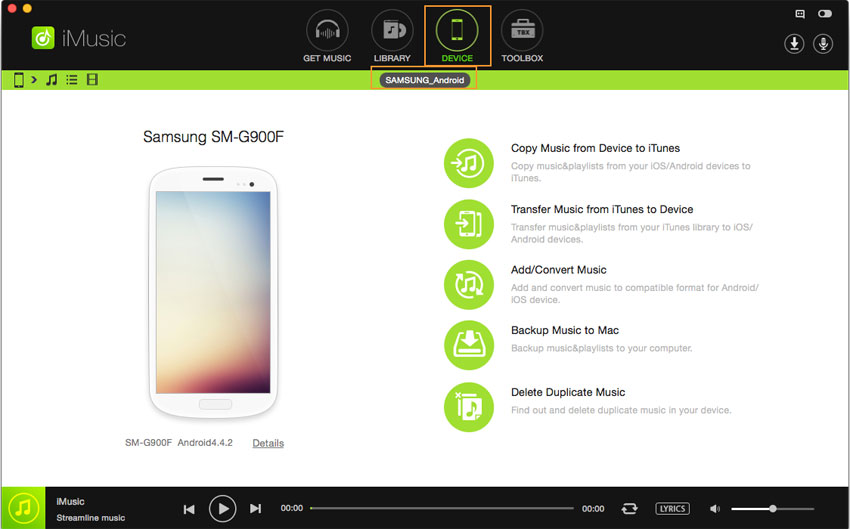
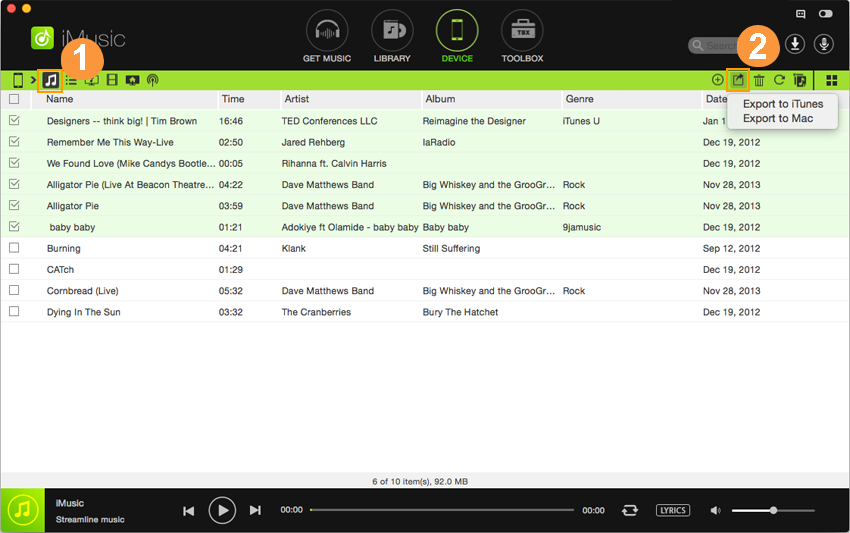
Here’s the step by step guide on how you can use iMusic to transfer music from Android phones to Computer.
Note: In case of Windows Computer, select “Export to PC”.
Step 3. On the next screen, please select the Output folder for the songs that you want to transfer from your Android Phone to computer and click on the “Save” button. That’s it! It will automatically transfer the music from your Android Phone to your Computer within few seconds. Alternatively, users can also use the manual method to transfer the music from Android Phone to Windows PC or Mac OS X.
2nd Method: Transfer Music from Android to Computer Manually on Windows PC:
This method does not require installation of any software and it works just like copying and pasting some stuff from a SD card or USB. Here’s how this method will work.
Step 1. Connect your Android Phone with the computer using USB cable. Make sure that you have unlocked your Android Phone and Please select “Connect as USB” on your Phone. Normally, the phone will be connected as the media device.
Step 2. Once the phone is connected, open folders and please select your Android Phone from main folder. Now, Go to the “Music” folder. Normally, this is the folder where you will find all the music present on your Android Phone. Select the tracks that you want to send to your Windows Computer and right click on one of them. Now, select “Copy” and paste these music tracks to a folder on your Windows Computer.
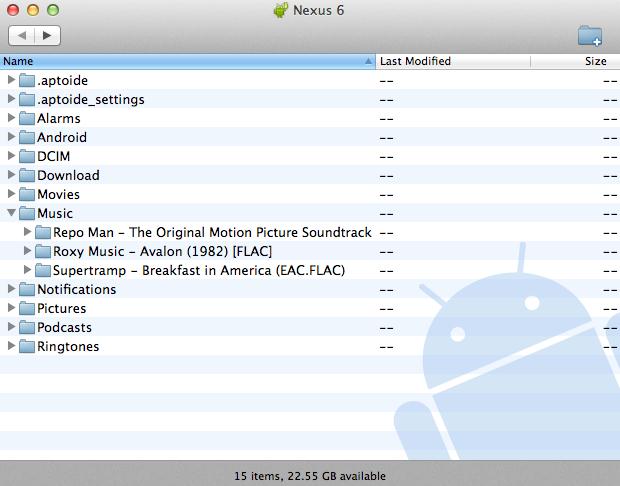
3rd Method: Transfer Music from Android to Mac
This method does not require installation of any software and it works just like copying and pasting some stuff from a SD card or USB. Here’s how this method will work.
Comparison of three Methods to transfer Music from Android to Computer:
After reviewing all methods, we can say that iMusic is the best program to transfer the music from Android to computer due to certain advantages that other methods do not provide. For example: you cannot transfer music to the iTunes Library using the second and third method but it can be done using iMusic. Similarly, manual methods will not let you transfer the Playlists or add information to the music tracks present on your computer. Which method did you use? Let us know in the comments section below.


Any Product-related questions? Tweet us @iMusic_Studio to Get Support Directly