Part 1: How to Record Podcast with Audacity
A podcast is one of the best ways of sharing information in the world. You can make the podcast with absolute ease using Audacity, which is a powerful audio recording tool that has really cool editing features. The following is the procedure for making the podcast using this program.
1. First, download Audacity and install it on your computer. You can download it here: http://sourceforge.net/projects/audacity/.
2. After that, think of a topic that you would like to talk about and then make a general outline of it.
3. Once you are clear about the topic, you can start recording. To do this, press the Record button on Audacity, or you can alternatively press the R shortcut key on your keyboard.
4. In case you would like to temporarily pause or suspend the recording, press the Pause button. You can also pause the podcast by pressing the P shortcut key on your keyboard. However, you should be careful not to stop the podcast because you cannot be able to edit it while it is stopped.
5. Once you are done with recording the podcast, you can press the Stop button or the Spacebar on your keyboard.
6. You can start the recording again if you want to record a new track.
7. To hear previously recorded tracks while recording new tracks, you will need to go to the Transport menu in Audacity and then enable overdub.
Note: When you are recording podcasts with Audacity, make sure that your levels are kept near the middle point, which is zero. You will see bars bouncing back and forth during the recording process – make sure that they are kept as close to Zero (0) as possible. Talking too much may cause the audio you are recording to feel like it is vibrating through a tin foil.
8. After recording, edit any mistakes that you might have made. Make sure that the recording does not have background noise, heavy breathings, and other things like that.
9. After making sure that everything is fine, you can save the recording in MP3 format, and then upload it somewhere on the internet where people can access it and download it.
Note: To save the podcast into MP3 format, you will need to go to File in Audacity, and then choose "Export as MP3". If you find problems saving the podcast in MP3 format, it could be probably because you do not have an MP3 codec installed on your machine. You can install the codec automatically with Audacity, or you can also use the LAME MP3 encoder.
Part 2: The Easiest Way to Record Podcast with Audacity Alternative
If you find problems recording a podcast with Audacity, you do not have to worry because there is an easier alternative. iMusic gives you the easiest way to record podcasts so that you could share them with your audience or subscribers online. It is very intuitive and easy to use.
There is so much to like about this software program. It supports over 500 radio stations as well as music sites, meaning that you can be able to record audio from sites such as Pandora, Grooveshark, YouTube, Spotify and many others. It automatically filters advertisements between the tracks that you are recording. It can also split the tracks that are being recorded into separate files without interfering with their quality.
Key Features:
- It automatically gets music information such as Artist, Album, Title, and Genre. This is made possible by the industry-leading ID3 tag identification technology that it is comprised of.
- It allows you to add the recorded music directly to iTunes or playlist using the "Add to iTunes" button.
- It has a built-in player that allows you to play the recorded music with ease.
- It allows you to continuously record playing music and also split tracks to separate audio files automatically.
- It automatically removes advertisements that come between the tracks that you are recording.

Simple Steps for Recording a Podcast with Audacity Alternative
The following is what you will need to do in order to record a podcast using this software program.
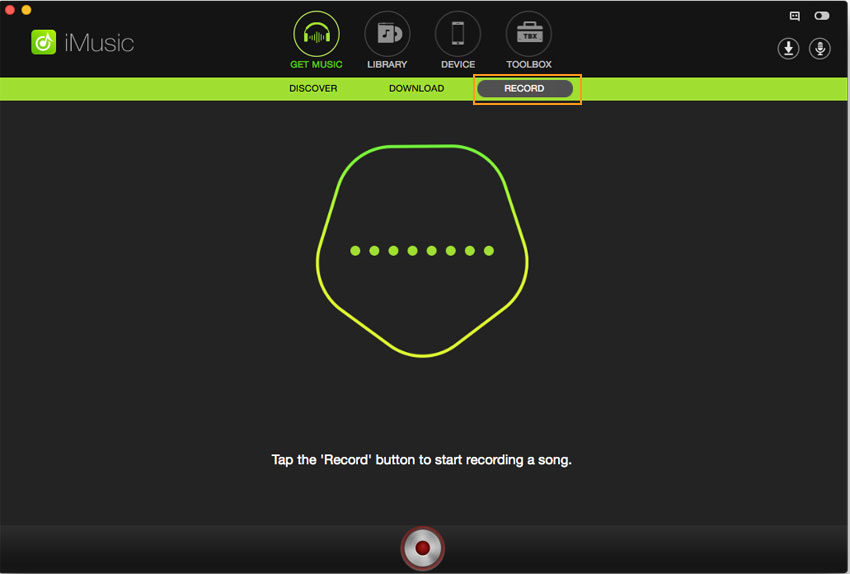
Step 1: Download the application and follow the installation instructions to install it. Prepare the topic that you would like the podcast to be about, and launch the program. Click the RECORD tap and press the red button to get ready to record music.
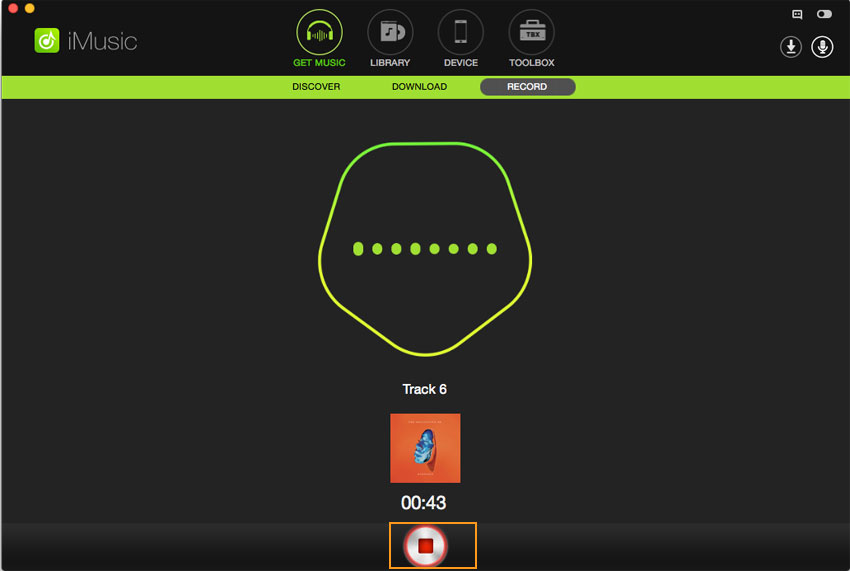
Step 2: Start reading the podcast that you have prepared. The application will begin to record only upon detection of the sound. Press the red button again to stop recording if you want it to stop.
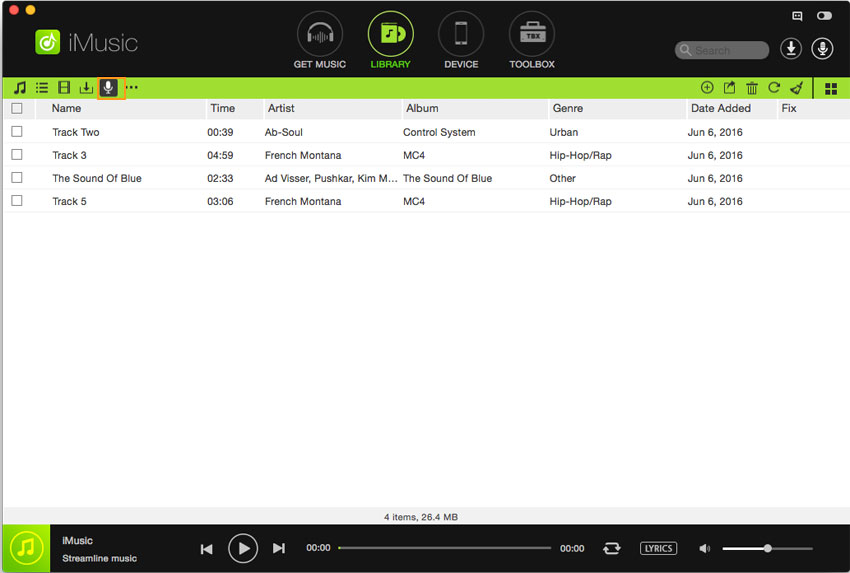
Step 3: To listen the recorded music, you can simple click LIBRARY tap to check them. Make sure that you have a good microphone to capture the sound. Then make sure an Audio Recorder Driver is installed on your computer because iMusic needs it to work properly. Make sure that the recording takes place at a quiet place to avoid a lot of background noise. You should also avoid breathing heavily when recording.
Part 3: Audacity VS Garageband for Podcasting
So, if you were to choose between Audacity and Garageband for podcasting, which one will you go with? Well, it is without doubt that both of these applications are amazing in their own ways, so any of them can do a great job when it comes to making podcasts.
Audacity is free and very easy to use. It is a great multitrack audio recorder and editor whose interface is translated into many languages. Another thing that you will find to be interesting about it are the numerous effects that it has, including the ability to change the pitch or speed of a recording.
Garageband has lots of exciting features too. It allows you to make professional sound music with absolute ease. It even gives you the capability of creating surprisingly human sounding drum tracks. There are numerous inspiring loops from popular genres such as Hip Hop, Electronic Dance, Indie, and more. Garageband also has tons of recording and editing features that will enable you to edit your podcasts right down to the note as well as decibel.


Any Product-related questions? Tweet us @iMusic_Studio to Get Support Directly